

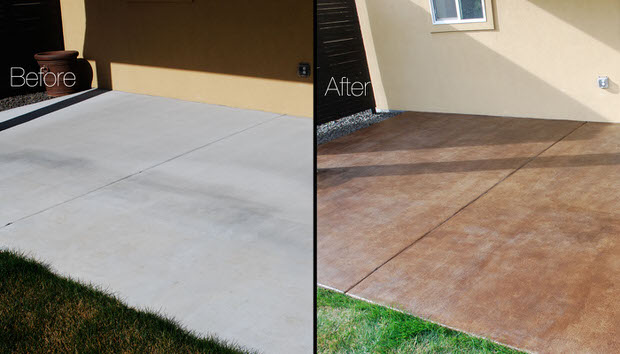
One of the most boring parts of our garden design is also one of our most necessary- walkways, patios and driveways. Most of us have simple poured concrete, and while it definitely does the job, it is, in a word, boring. We wanted a cool textured, almost rustic look that would blend well with different styles. Here’s how to stain a concrete patio yourself, without a sprayer, without expensive commercial products, and without taking a huge chunk out of your checkbook.
Supplies:
Step One:
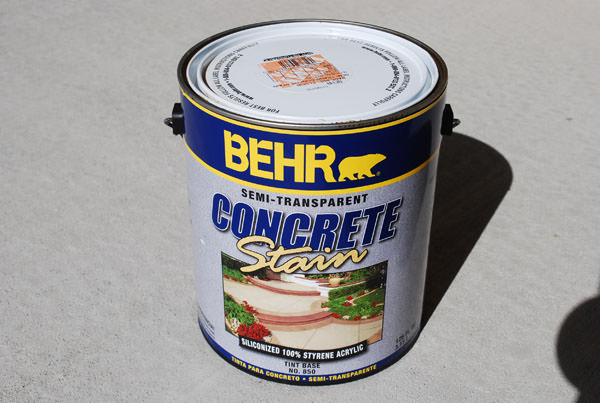
Determine if your concrete is porous enough to absorb the stain. The best way to do this is to drip a few drops of water on it. If it absorbs after a few minutes, it good to stain. If the water beads up and won’t absorb, then you need to strip and etch it. Probably don’t need to do that unless your concrete has been sealed in the past. Behr makes a concrete stripped for this purpose, I’m sure there are other products as well. Follow the instructions on the can.
If stripping is not needed, simply clean the concrete really well with water and a little vinegar or mild soap. The advantage to the vinegar is that it wont need rinsing. The soap will. Allow to dry thoroughly.
Step Two:
We used a roller and tray to apply the stain to the floor, then used a round household sponge to dab a texture into the stain before it dries. You will need to have two people, one to roll and one to dab and work in small sections. Try to keep the edge wet as you work to prevent a hard line, but with the texture, its pretty forgiving. Allow to dry. Don’t panic if it looks like a total failure at this point…it WILL need a second coat! In fact, you could add a third coat for a really rich texture, we stopped at two. Note: If your sponge is not round, simply tear away chunks of the edges before using so you wont have any hard edge marks in your stain.
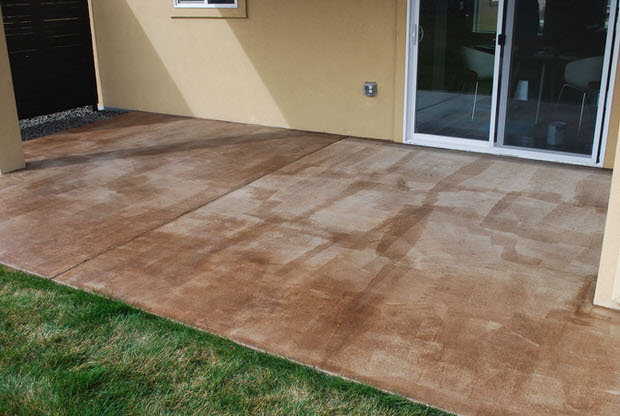
See? First coat looks pretty rough…patience!
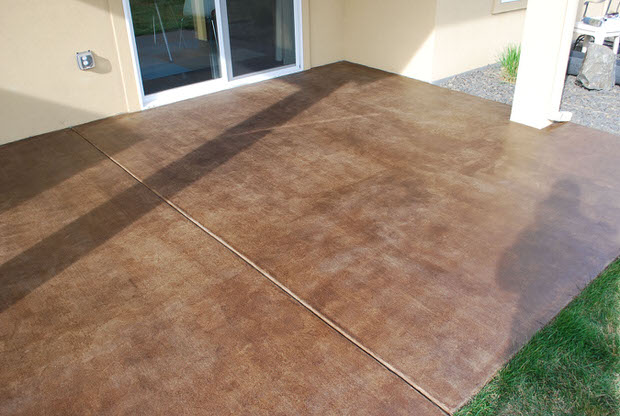
After the second coat, allow to dry 24 hours. If you choose to use a sealer at this point, now is the time. Be sure to roll on using light coats and allow to dry thoroughly between coats if you do more than one.
Advantage of using sealer: Stain will last much longer and will have a little more shine to it.
Disadvantage of using sealer: When you eventually want to freshen the stain, or need to repair a spot, you will have to strip the concrete first.
That’s it! How to stain a concrete patio in two easy steps! (Ok, three if you seal!) You can do this on any concrete surface, interior or exterior. Although the stain does penetrate the concrete to some degree, I wouldn’t drag heavy objects across it. It does hold up very well, ours has two years on it now, with little signs of wear. You can touch it up with a paintbrush and dab with a paper towel for tiny chips or scrapes.
Be sure to save the can, or record the color in the case you wish to re coat the concrete somewhere in the future.
Copyright © www.100flowers.win Botanic Garden All Rights Reserved