

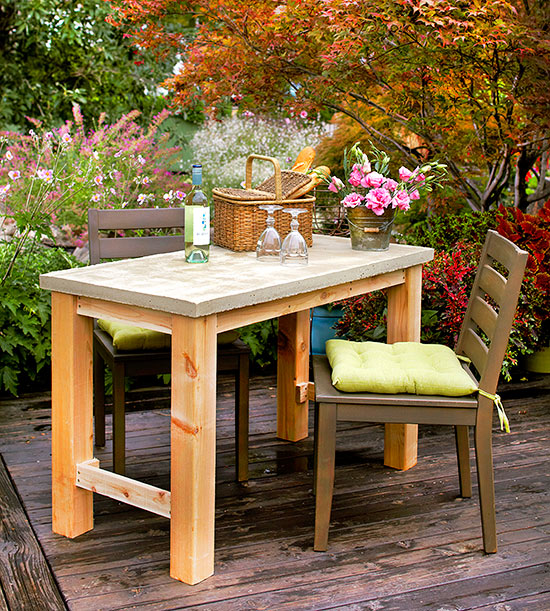
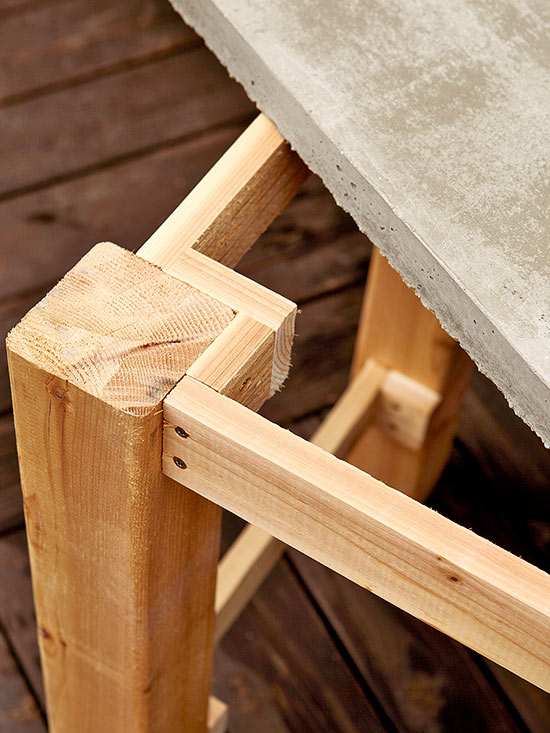
Cedar's natural resistance to the elements, including moisture, helps it hold up to the weather outdoors. We left this table base unfinished, but you can stain the wood to make it even more durable. This homemade base is 22×46 inches from the outside edge of each leg; the concrete top will overhang about 1 inch on all sides.
continue reading belowWhat you'll need:
Cut the cedar boards to the lengths listed above.
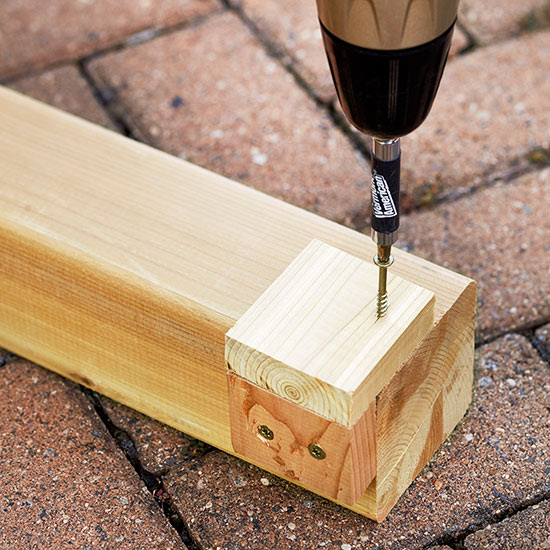
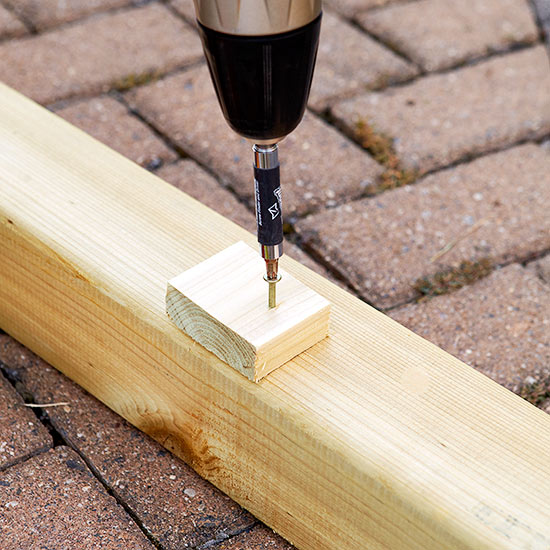
Predrill holes for the screws, then use screwdriver or drill with screwdriver bit to fasten one 3-inch and one 3 3/4-inch piece on two adjacent sides of each post; pieces should be flush with the post top.

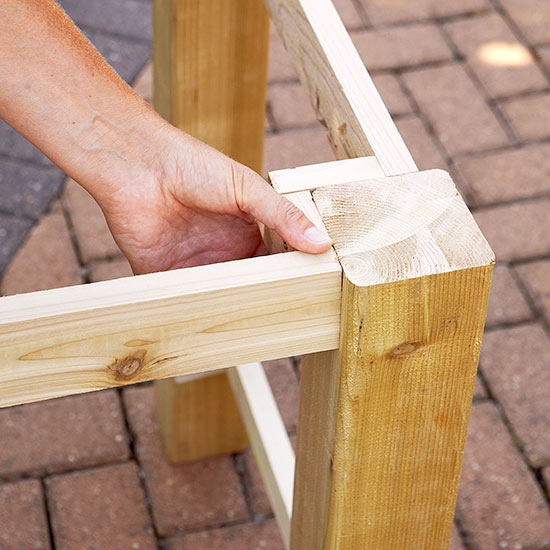
To make the end pieces, connect two posts by predrilling and fastening with screws one 15-inch side piece to the 3 3/4-inch block.
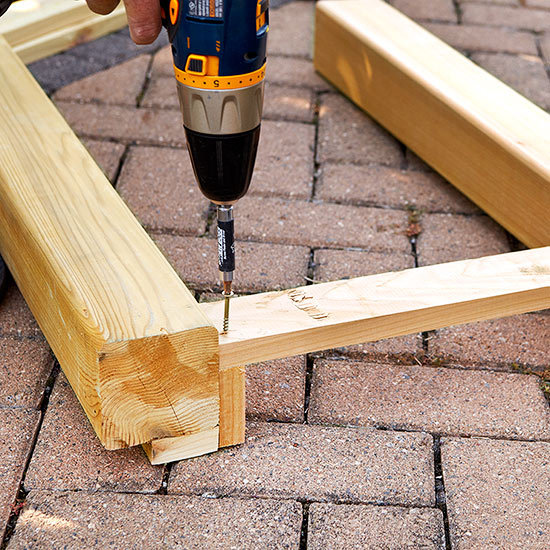
Fasten on both post tops.
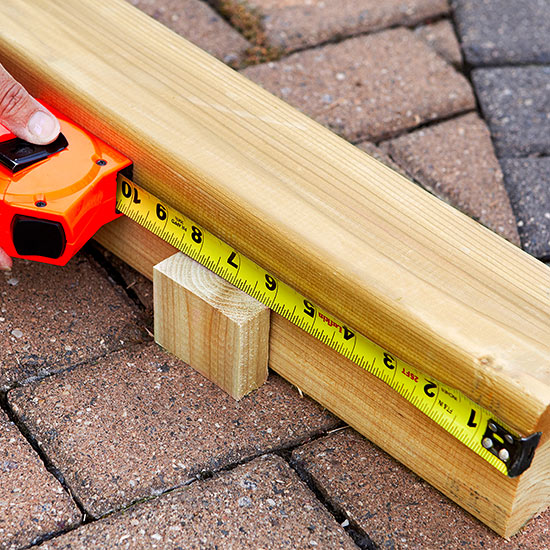
On each end piece measure 6 inches from the bottom of the posts.
Attach one 3-inch corner block on interior of each post by predrilling and fastening with screws.
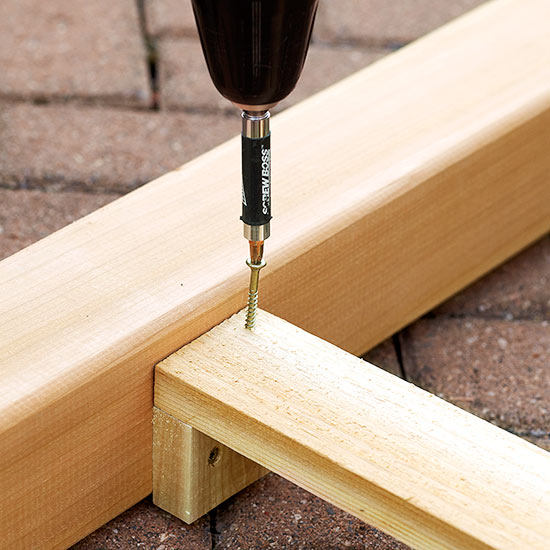
Predrill and use screws to fasten one 15-inch piece to the corner blocks. The end piece is now braced at top and bottom for rigidity and support.
Connect the end pieces by predrilling and fastening with screws the 39-inch side pieces to 3-inch corner blocks on the post tops.
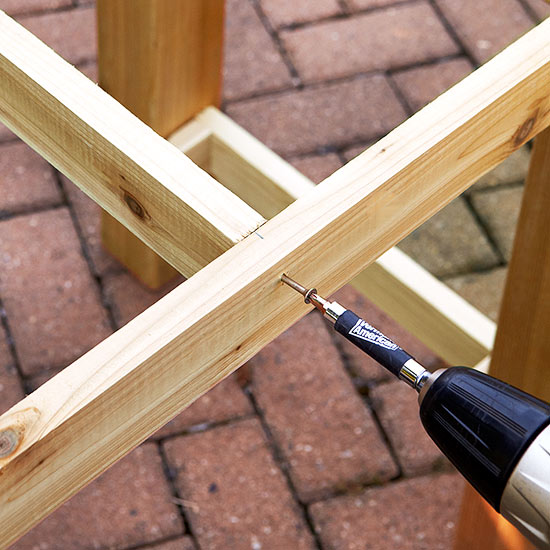
Position the 17¼-inch pieces evenly spaced along the side pieces. Predrill and fasten with screws.
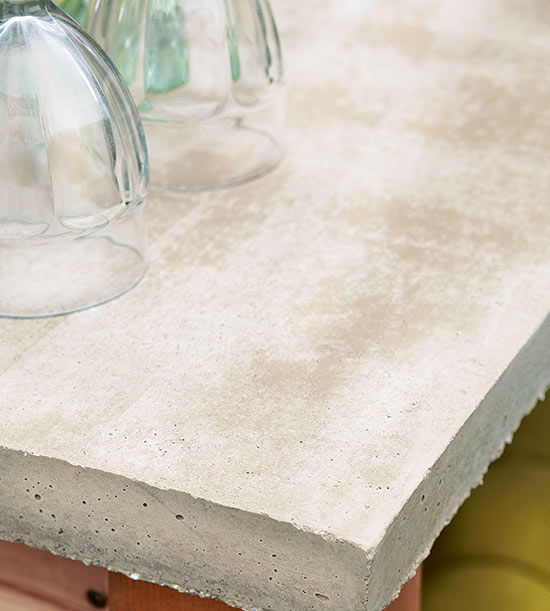
Concrete is a surprisingly manageable medium with an earthy vibe and unbeatable durability. It's also forgiving -- if you mix in a little too much or not quite enough water, you'll still be OK. Countertop concrete is done with a fairly dry mix that will set overnight. Rough edges and small air pockets add rustic appeal to concrete. This project is relatively small (the top is 24×48 inches) so you can pour it without a wire-mesh stabilizer and heavyduty frame. For a tabletop larger than this, you will need both.
What you'll need:
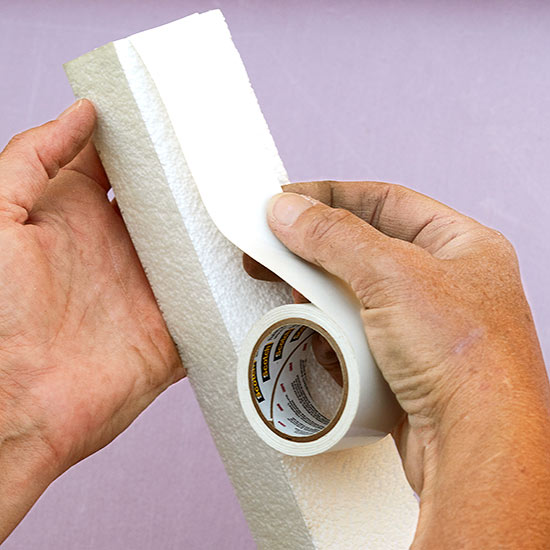
Tape the foam insulation strips together, forming a 24×48-inch rectangle. Tape the rectangle to the foam insulation board.
Build a wooden frame from 2×4 boards to fit tightly around the foam frame. Set the mold on a solid surface.
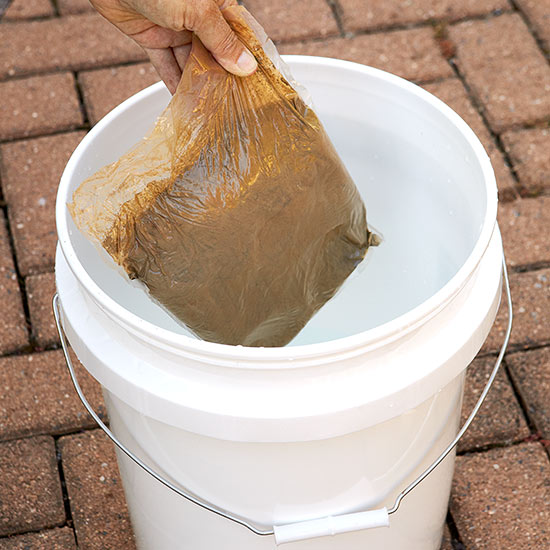
Mix colorant according to manufacturer's instructions. We put a bag of premeasured colorant in a 5-gallon bucket of water, then used a paddle mixer to blend.
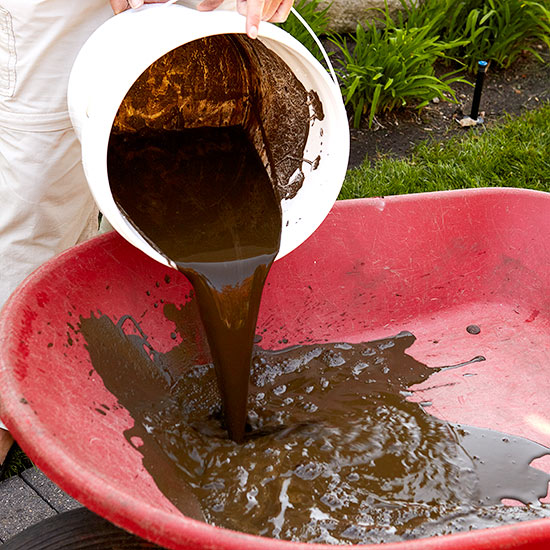
Mix concrete according to instructions. We poured the colorant into the wheelbarrow.
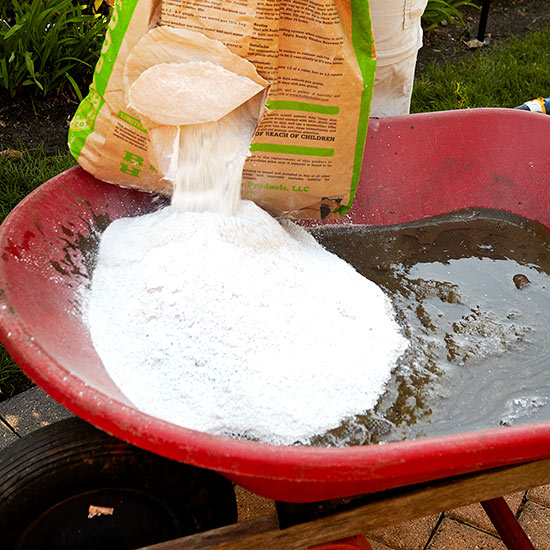
Then we added the concrete mix, and used a shovel to blend. The concrete is ready to use when it's the consistency of cookie dough.
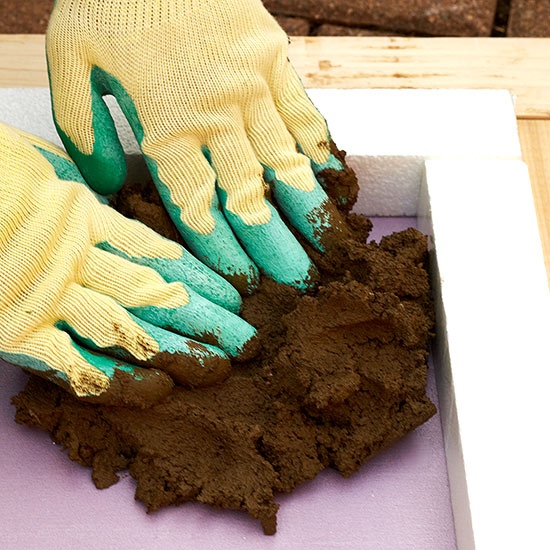
Wearing work gloves, put concrete mix into the mold, pressing the mix into the frame.
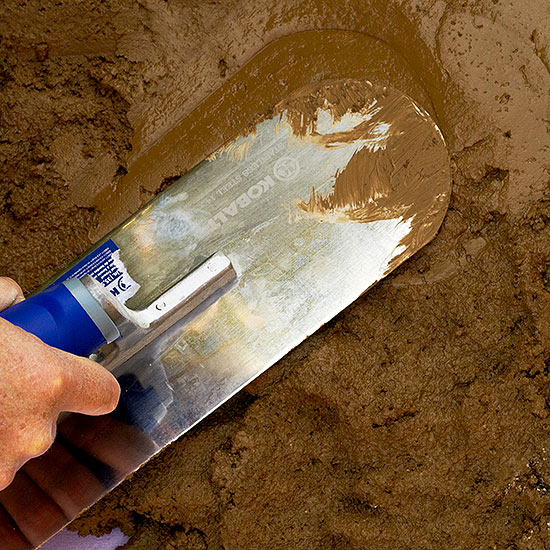
Smooth with the trowel. Follow manufacturer's instructions to allow the concrete to cure.
Remove the mold and place tabletop on base. You'll need two people to move this heavy tabletop.
Copyright © www.100flowers.win Botanic Garden All Rights Reserved