An uneven yard causes drainage problems, mowing nightmares, and tripping hazards. Leveling it yourself is entirely doable with basic tools, patience, and a systematic approach. This guide covers turf removal, grading for drainage, filling depressions, final smoothing, and lawn reestablishment—whether by seed, sod, or "lawn carpet."
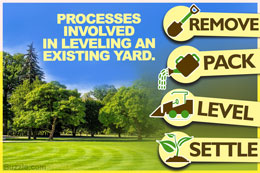

Step 1: Remove Existing Turf
If the lawn is weedy, patchy, or you're regrading significantly, strip the old grass.
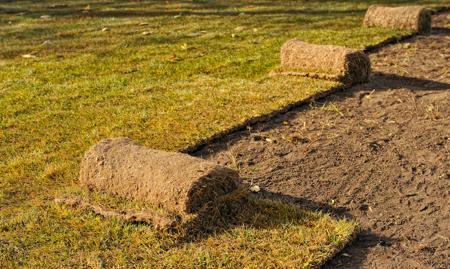
- Manual: Sharp spade or sod cutter. Cut 1–1.5″ deep. Roll strips for disposal/compost.
- Chemical: Glyphosate 2 weeks prior (easier removal, but delays planting).
- Solarization: Clear plastic 4–6 weeks in summer (organic, no chemicals).
Pile removed turf in a corner to decompose (future compost).
Step 2: Establish Drainage Slope
Golden rule: Slope away from structures 2–3″ per 10 ft (2–3% grade). This prevents foundation water damage and standing water.
- Drive stakes at house foundation and 10 ft out.
- Run string line with line level; measure drop.
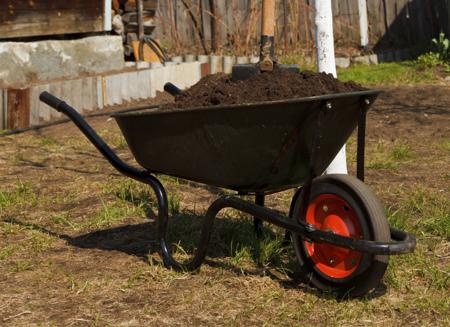
- Use existing soil—cut high spots, fill low spots. Avoid importing new soil (different texture = uneven growth).
- Tools: Square-point shovel, garden rake, 2×4 board (screed), hand level or smartphone level app.
- Work in sections; compact lightly with tamper or roller as you go.
Don't level in rainy season—wet soil compacts unevenly and erodes.
Step 3: Fill Depressions and Holes
- Excavate the low area into a uniform bowl shape.
- Base layer: Coarse gravel/rock (2–3″) for drainage.
- Middle: Coarse sand or sandy loam.
- Top: Quality topsoil/compost blend matching surrounding soil.
- Compact each layer. Finish slightly high (settles 10–15%).
- Re-check slope with level across repair.
Step 4: Final Finish Grading
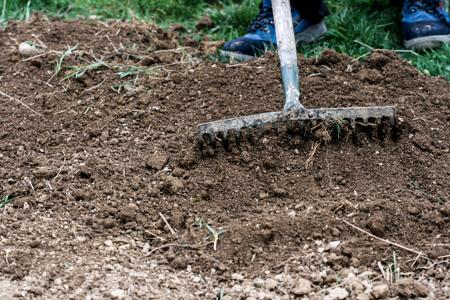
- Use a landscape rake (36″ aluminum) for broad smoothing.
- Follow with a push broom or drag mat for micro-smoothing.
- Constantly verify with level/inclinometer.
- Optional: Thin layer (¼–½″) screened compost for seedbed.
- Perfection now prevents rework after grass establishes.
Some pros rent a small roller for 1–2 days to settle the grade—especially on sandy soils.
Step 5: Reestablish the Lawn
Option A: Seed (Cheapest, Slowest)
- Best: Early fall (cool-season) or late spring (warm-season).
- Split seed: ½ in one direction, ½ perpendicular.
- Lightly rake in; roll; mulch with straw/erosion blanket.
- Water 2–3× daily until germination; then taper.
- 10–21 days to green; 2–3 months to traffic-ready.
Option B: Reuse Old Sod (If Healthy)
- Only if grass was dense, weed-free, and roots intact.
- Re-lay same day; keep moist; roll; water heavily.
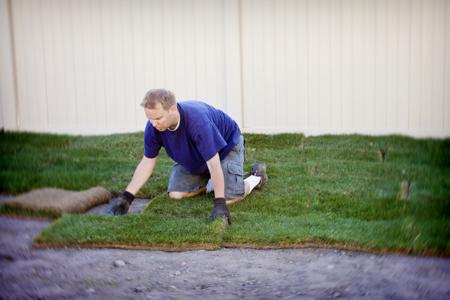
Option C: Sod / "Lawn Carpet" (Fastest, Most Reliable)
- Buy from single batch, same age.
- Lay on moist, prepared soil (see How to Lay Sod).
- Roll, water, restrict traffic 3–4 weeks.
- Instant green; usable in 2–3 weeks.
Pro Tips for a Perfect Grade
- Work in 10×10 ft grids—manageable, measurable.
- String lines every 10 ft for slope reference.
- Wet soil slightly for easier shaping; avoid mud.
- Compact fill in 2″ lifts—prevents future settling.
- Check for "birdbaths" (low spots) by flooding—water reveals them instantly.
When to Hire a Grading Contractor
- > 5,000 sq ft
- Significant cut/fill (> 6″)
- Drainage structures needed (French drain, swale, catch basin)
- Heavy equipment access required
- Permit/inspection required (some municipalities)
DIY leveling is a workout, but the reward is a lawn that drains, mows evenly, and stays green—without the rollercoaster ride.