

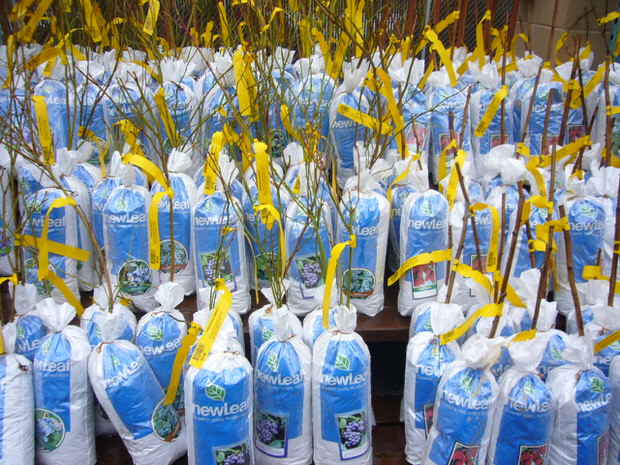
Bare root plants are easy to handle. They are usually dormant perennials, shrubs, or trees that have been harvested from the field, have had the soil washed from their roots and then have been stored in refrigeration for later shipment. “Bare rooting” a plant is a safe, proven, and much used means of storing and shipping many garden plants. At Cottage Farms we always recommend that you plant bare root plants as soon as possible, but you can hold them in a refrigerator, unheated garage, or cellar for a short period if necessary. The best time of year for planting bare root plants in the garden is during the winter (if the soil is not frozen) or spring. The arrival of warmer temperatures and longer days cause the plants to wake up naturally from their winter dormancy and help insure gardening success.
Daylilies: Cottage Farms suggests choosing a garden area that will receive at least four hours of direct sun each day. Spade or roto-till the intended flower bed to a depth of at least 8-10 inches. If you do not have good garden soil, you may want to blend in a generous portion of dehydrated manure, compost, peat moss, or shredded leaves, but daylilies are one of the easiest to grow and most forgiving plants in any garden.
Dig holes at least twice as wide and deep as the bare root divisions. Fashion a small cone-shaped mound of dirt in the center of the hole below ground level. Spread the roots over the mound with no more than 1″ of soil covering the crown (where the leaves and roots meet). For daylilies with emerging green growth plant any new growth above ground level. Firm the soil around the crown of the plant. Cottage Farms always recommends mulching immediately since mulch shades and cools the soil, helps prevent weeds and provides organic matter for the soil. Water your plants thoroughly after mulching. Daylilies grow best with at least 1-inch of rain (or equivalent watering) each week, but are quite drought tolerant. As soon as new growth emerges begin fertilizing every two weeks with Cottage Farms “Carefree Bud-N-Bloom Booster” throughout the growing season. This will help ensure maximum flowering and root development.
Trees and Shrubs: First, look the plant over and remove (prune) any broken or damaged limbs or roots.
Cottage Farms recommends soaking the roots of the tree or shrub in a bucket of water for 2 to 3 hours prior to planting.
When ready for planting, select a site suitable for the plant and dig a hole larger than the roots are wide when they are spread out. If you are planting in poor or clay soils, you may want to mix compost, dehydrated manure, peat moss or shredded leaves with you excavated soil (if you do so, you may have extra soil when you complete the planting – remove excess soil, never pile it against the stem or plant too deep) . In the bottom of the hole form a cone shaped mound of soil. Place the plant’s roots over the mound of soil and spread them evenly around the mound. Before filling the hole with soil make sure the trees existing soil line will be even with the new ground level. Begin filling the hole with soil, carefully firming the soil around the roots, leaving no air pockets. When the hole is approximately ¾ full of soil fill the hole with water and let it soak in. Once the water has soaked in make sure the tree is standing straight and finish filling the hole with soil. Form a saucer shaped rim around the outside of the hole. This will allow water to stay within the planting area. To assist a tree or tall shrub in getting anchored, you may want to stake it. As always, Cottage Farms suggests a 2-4-inch layer of mulch around the planting area to promote moisture retention, maintain even soil temperatures, and to discourage weed growth. Water the new transplant generously once every week throughout its first growing season. In later years, at least 1-inch of rain or watering equivalent per week is recommended for most soils. As soon as new growth emerges begin fertilizing every two weeks with Cottage Farms “Carefree Bud-N-Bloom Booster” throughout the growing season. This will help ensure maximum flowering and root development.
Roses: Prior to planting remove (prune off) any broken roots or canes. Cottage Farms suggests soaking the entire rose plant (roots and canes) for at least 1-2 hours in luke-warm water. Select a location that receives at least four hours of sun each day. Spade or roto-till the intended rose bed to a depth of 12-15 inches. Unless you have good garden soil, Cottage Farms suggest you blend in a generous portion of dehydrated manure, compost, peat moss, or shredded leaves. This will help improve drainage and aeration.
Dig a hole at least twice as wide and deep as the bare roots. Partially fill the hole with the soil mix, making a cone shaped mound in the center of the hole over which to drape the roots. Adjust the height of the mound so the graft union is at the correct level. In warmer climates a rose should be planted so the bud union (a bulge on the stem of the rose plant indicating where the rose plant has been grafted onto the roots) is at or slightly above ground level. In colder climates, the union may be planted up to 2″ below ground level to help reduce the chance for winter die-back. Spread the roots out evenly over the cone shaped mound. Holding the rose at the correct planting depth, fill the hole with soil, working it carefully around the roots. When the hole is approximately ¾ full of soil, fill the hole with water and let it soak in. Once the water has soaked into the soil, make sure the rose is standing straight up and finish filling the hole. Form a saucer shaped rim around the outside of the hole. This will allow water to stay within the planting area. Cottage Farms always suggests a 2-4-inch layer of mulch around the planting area to promote moisture retention, maintain even soil temperatures, and to discourage weed growth. Roses require at least 1-inch of rain (or equivalent watering) each week. As soon as new growth emerges begin fertilizing every two weeks with Cottage Farms “Carefree Bud-N-Bloom Rose Booster” throughout the growing season. This will help ensure maximum flowering and root development.
Irises and other Rhizomes: Select a good location for the plants being planted in your garden. Irises do well in full sun or partial shade. Spade or roto-till the intended flower bed to a depth of 8-10-inches. If your garden soil poor or is a heavy clay, Cottage Farms suggest you blend in a generous portion of dehydrated manure, compost, peat moss, or shredded leaves into the soil. Dig holes at least twice as wide and deep as the rhizome. Fashion a cone shaped mound of soil in the center of the hole below ground level. Spread the roots over the mound with the top of the rhizome at ground level or slightly exposed. A common mistake is planting Iris rhizomes to deep. Firm in the soil around the rhizome with your fingers and water thoroughly. Cottage Farms always suggests a 2-4-inch layer of mulch around the planting area to promote moisture retention, maintain even soil temperatures, and to discourage weed growth. Iris perform best with at least 1-inch of rain (or equivalent watering) each week. As soon as new growth emerges begin fertilizing every two weeks with Cottage Farms “Carefree Bud-N-Bloom Booster” throughout the growing season. This will ensure maximum flowering and root development.
Article By Cottage Farms Direct. Check them out at http://www.cottagefarmsdirect.com
Copyright © www.100flowers.win Botanic Garden All Rights Reserved