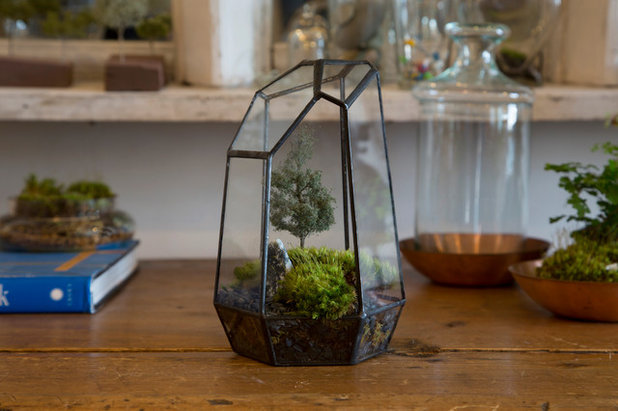
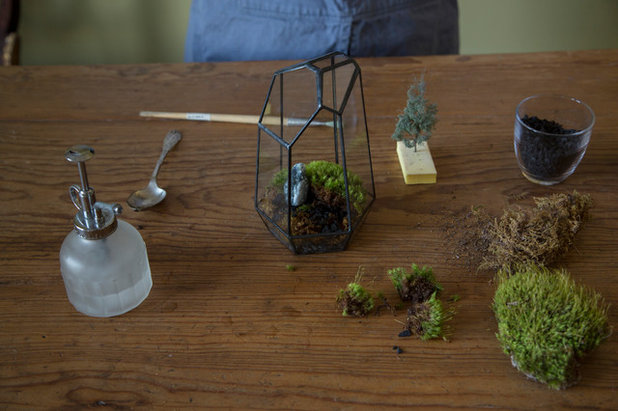
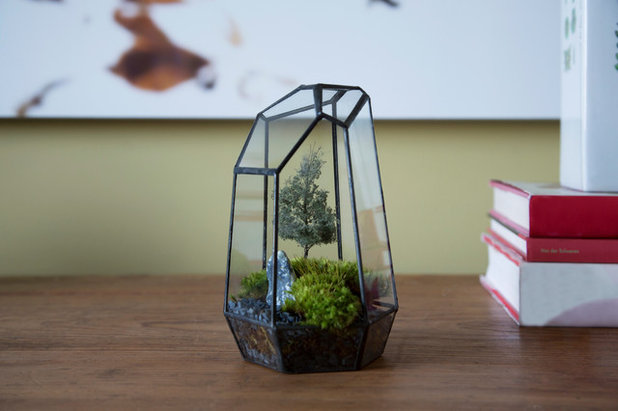
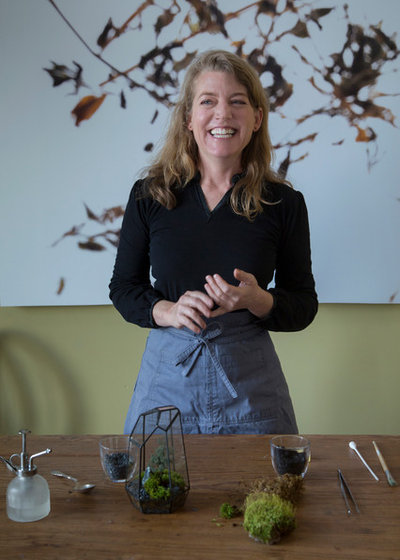
Moss is beautiful, even when poking through the cracks of a decrepit sidewalk or sprawling over a crumbling wall. It’s a plant that begs to be touched and invites a closer look. Follow along as Baylor Chapman of San Francisco’s Lila B. Design shows us how to put together a mini moss terrarium that’s sure to inspire joy and a sense of calm in any indoor space.
Margot Hartford Photography
Margot Hartford Photography
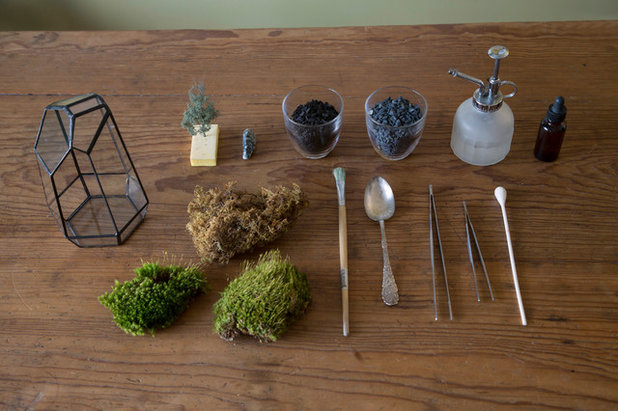
Plant Materials (Make sure you buy from a reputable source that harvests moss in a responsible way.)
Other Materials and Tools- Glass vessel with opening (a cylinder vase or Mason jar could work)
- Spoon
- Rock
- Spray mister
- Paintbrush
- Activated charcoal pieces (available in the aquarium section of a pet shop)
- Decorative pebbles (aquarium pebbles work well)
- Extra-long tweezers or tongs
- Extra-large cotton swab
- Medicine dropper
- Architectural model tree (or any other accessories you’d like to place in your terrarium)

Margot Hartford Photography
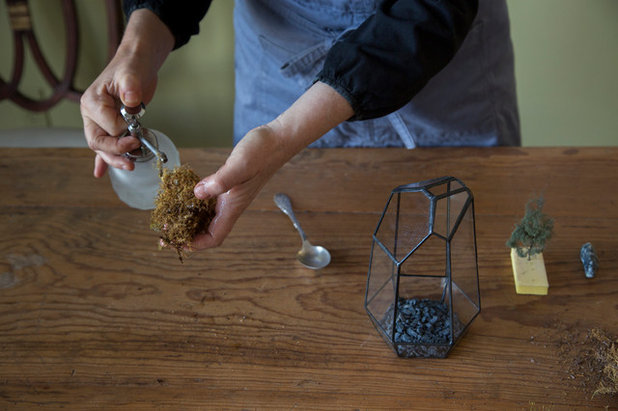
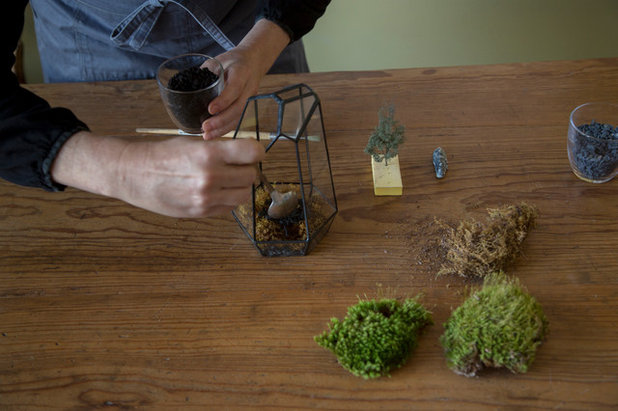
1. Using the spoon, place a layer of rocks, about three rocks deep, on the bottom of the glass vessel. The rocks will enhance the terrarium’s appearance and help drain any water that seeps through the moss, which you’ll add next.
Margot Hartford Photography
2. Take a piece of sheet moss about the size of the vessel’s base. Completely moisten the moss using the mister, and then wring out any excess water. Adding water to the moss will make it easier and less messy to work with.
Margot Hartford Photography
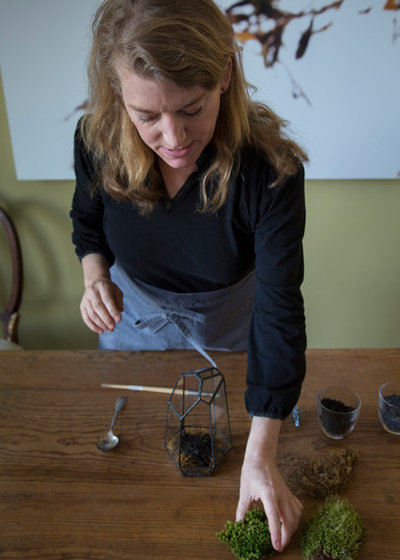
3. Place the sheet-moss layer on top of the rocks, trying to completely cover the rock layer below. Use the back of the spoon to tamp the moss into place and push it into the terrarium’s corners. The nonbrush end of the paintbrush can also help with this. The sheet moss will act as a barrier and keep the charcoal layer, to be added next, from mixing with the rocks below.
Margot Hartford Photography
4. Add a layer of charcoal with the spoon, aiming to just cover most of the moss below. The charcoal will act as a filter and prevent any moisture in the terrarium from developing an unpleasant smell.
Now your terrarium’s base layers are set.
Margot Hartford Photography
5. Grab a piece of your cushion moss. Your cushion moss might have a thicker or thinner bottom layer. Depending on how you’d like your terrarium to look, you can keep the moss thick or cut off some of the thickness to create an interesting terrain.
Margot Hartford Photography
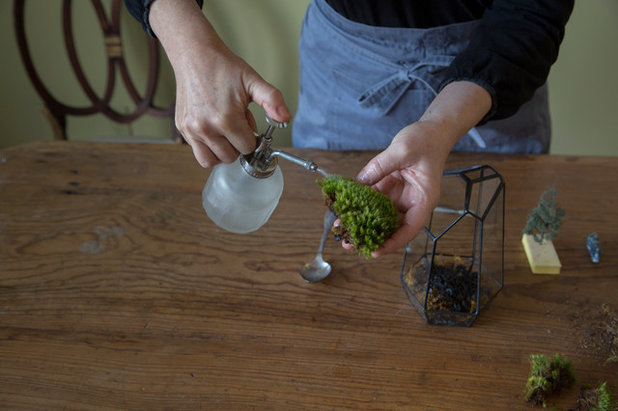
6. Completely moisten your piece of cushion
moss with the mister, as you did with the sheet moss. Wring out any excess water.
You can leave the cushion moss as a larger piece if you like or break it into smaller pieces to create more of a landscape scene in the terrarium. Wait until after you moisten the moss to break it apart, as it will be more malleable and less messy.
Margot Hartford Photography
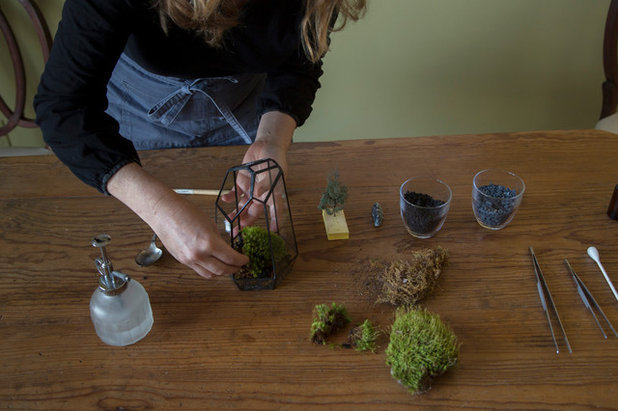
7. Place your cushion moss in the terrarium, starting with the largest piece. Chapman used a single piece of moss to cover about half of the base, but you can combine smaller pieces of cushion moss to create the composition you want.
Margot Hartford Photography
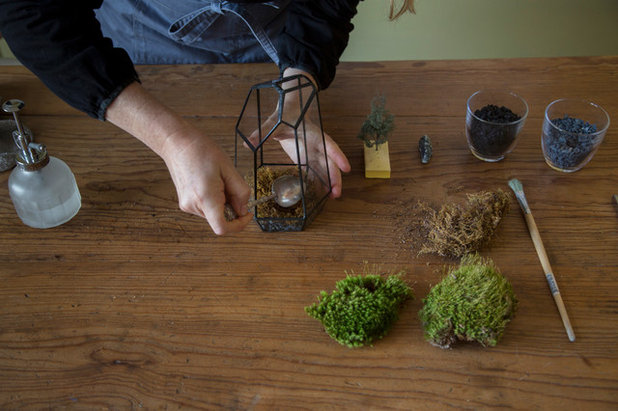
8. Add any sturdier accessories you like. Chapman included a black stone in this project for height and contrast.
Margot Hartford Photography
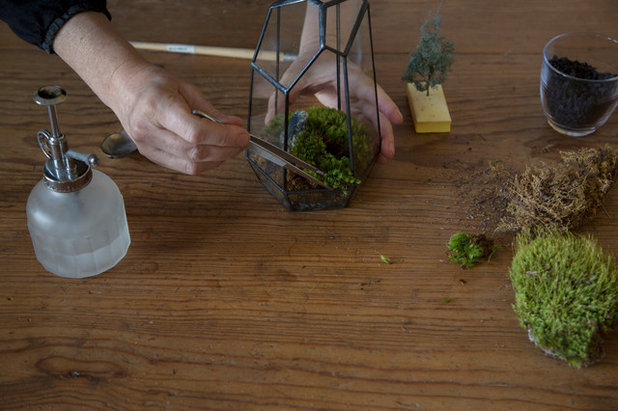
9. Add more cushion
moss to the terrarium if you like, using tweezers to help place and tamp down the smaller, more delicate pieces. Create a scene that appeals to you from all directions. Cover most of the terrarium base with cushion moss or leave parts of the base exposed. Chapman placed a piece of moss that appears to be spilling out of the vessel, with gaps in the moss forming interesting shapes around the green.

Margot Hartford Photography
10. Fill in with rocks any places that don’t have cushion moss. You need to just cover the charcoal and sheet moss, so that the cushion moss is still taller than the surrounding rocks.
Margot Hartford Photography
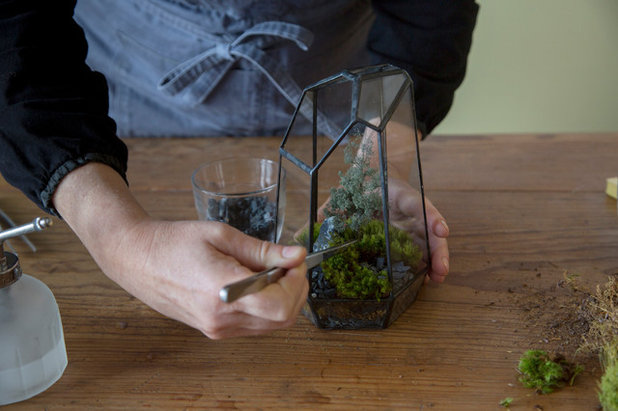
11. Add any other more delicate terrarium decor, such as an architectural model tree like the one seen here. You can use tweezers to help place the tree and tamp it into place.
Margot Hartford Photography
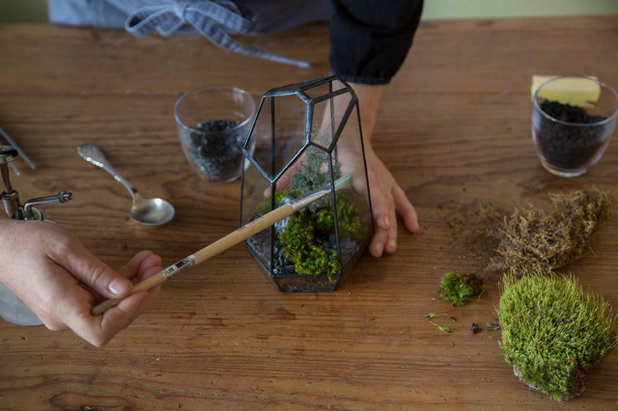
12. Clean the terrarium, using the paintbrush or an extra-large cotton swab to get rid of any dust, smudges or dirt that accumulated during the project.

Margot Hartford Photography
13. Water the moss with the medicine dropper, which will moisten the moss without getting the glass container dirty.
Margot Hartford Photography
Margot Hartford Photography
Place your terrarium on an indoor shelf, away from direct light, where you can admire it up close. With proper care, you should be able to enjoy your moss terrarium indefinitely.
Water it with the medicine dropper about once a week, or whenever the moss starts to get too dry (dry and crunchy to the touch). The time of year will affect your watering schedule, as will the size of your vessel’s opening. Reduce your watering if you see moisture starting to collect on the inside of the glass.
Browse more stories about container gardens

