


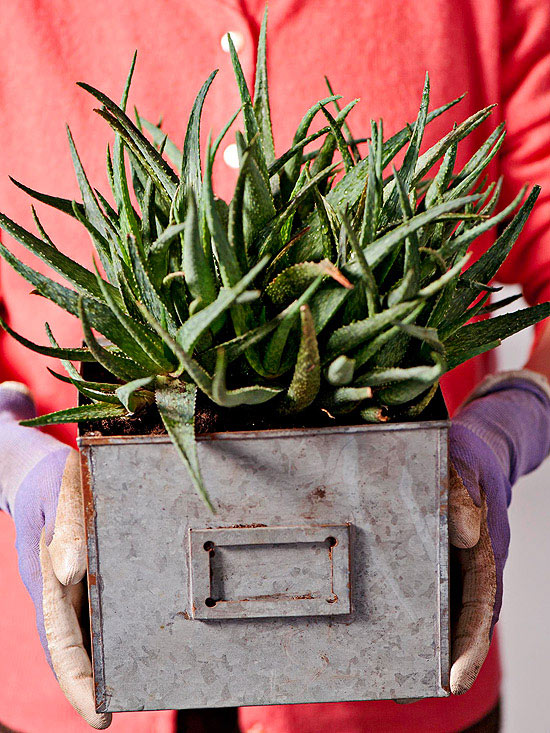
Many houseplants eventually outgrow their pots, becoming root-bound. This stunts growth and increases watering needs. Repotting into a larger container gives roots room to expand and revitalizes the plant.
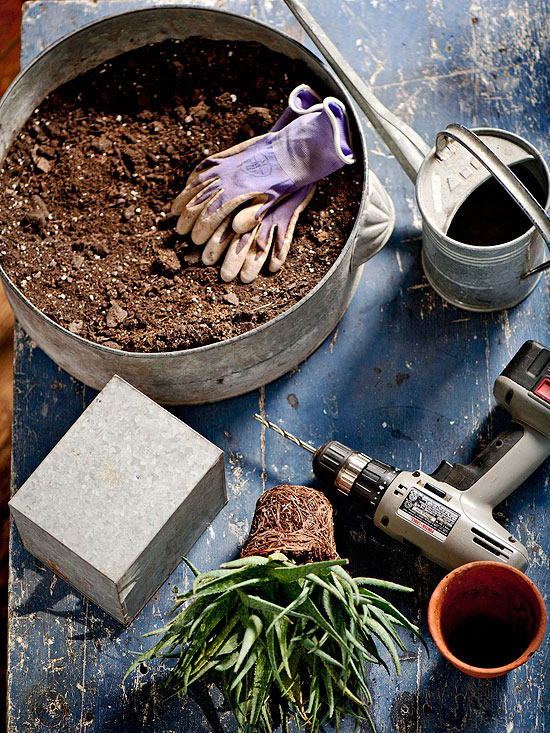
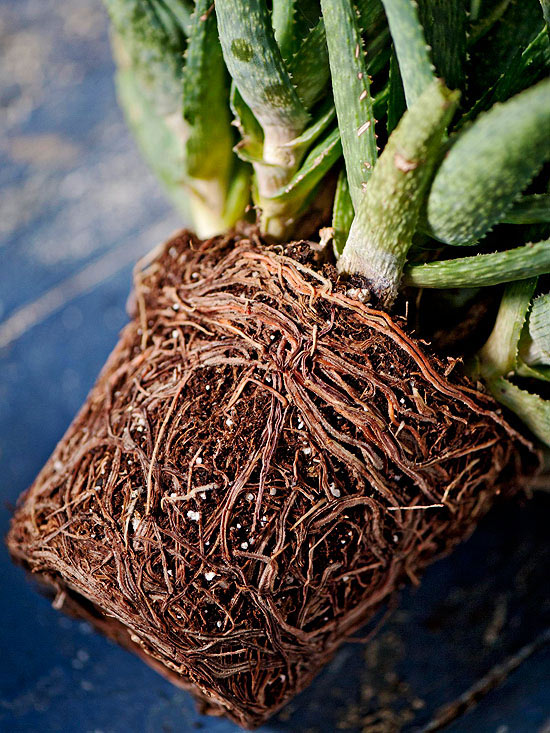
Turn the plant upside down and gently slide it out. Healthy roots should be firm and light-colored, filling the pot. If roots are sparse, you can still refresh the soil in the same-sized pot.
Choose a container at least an inch wider. Drainage holes are critical—drill at least three, spaced about an inch apart, using a metal bit (or masonry bit for clay pots). Caution: Drilling can crack valuable containers; avoid it for heirloom pieces.
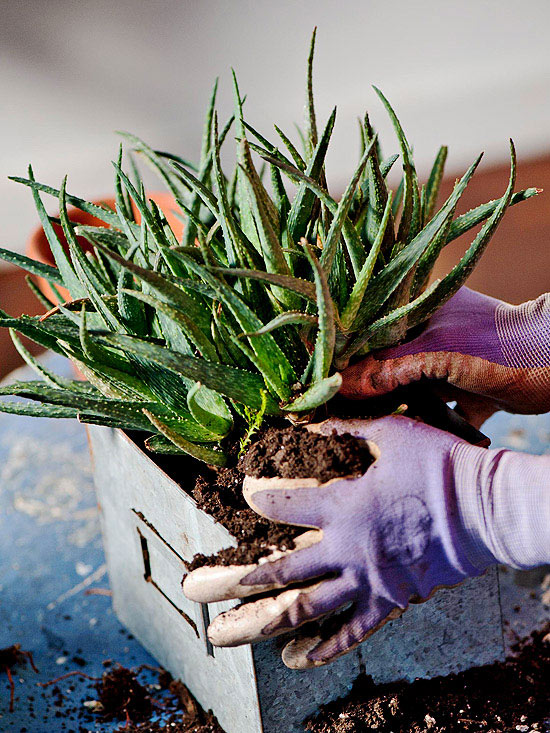
Gently tease the root ball apart so roots can penetrate the new soil. If the plant has produced offsets ("pups"), separate them with as many roots as possible. Place the main plant in the new pot, add soil around the roots, and firm it to eliminate air pockets.
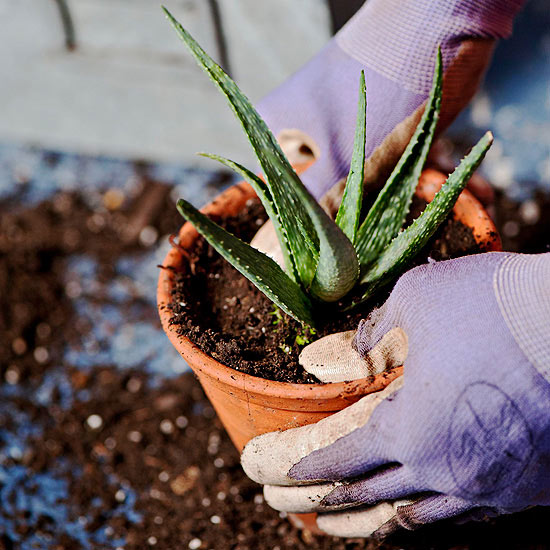
Plant each pup in its own container with fresh soil, firming gently. Give them room to grow into full-sized plants.
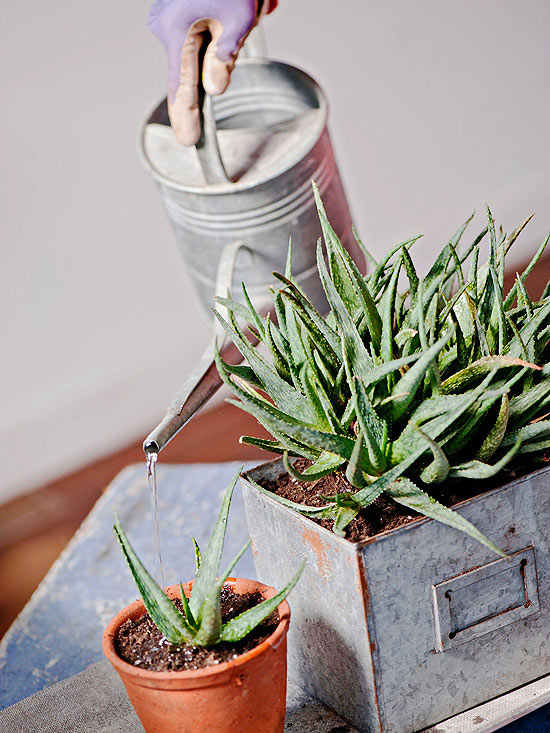
Water thoroughly until it drains from the bottom. Keep the soil moderately moist and place the plant out of direct sun for 1–2 weeks while it adjusts. Then move it to its permanent spot. Your refreshed houseplant will thrive for years to come.
Saving a Sentimental Phalaenopsis: Root Rot, Repotting, Patience
Phalaenopsis in Moss: Repotting Timing, Fungus Gnats, Keikis, and Cymbidium Tips
Diagnosing Golden Spots and Burned-Looking Ivy
Growing 'Sky Pencil' Holly in Containers in Northern NJ
How to Remove Tree Roots: Methods, Tools & Best Practices
Growing Trees in Containers: A Complete Guide for Small Spaces
Growing New Roots on Ascocenda/Vanda: Humidity, Watering, and Mounting
How to Transplant a Pencil Cholla Cactus Safely
How to Plant Bamboo Shoots in Containers
Growing Tomatoes in Containers: Tips for Patio and Small-Space Gardens
How to Grow Water Lilies in a Pond: Complete Guide
Copyright © www.100flowers.win Botanic Garden All Rights Reserved