

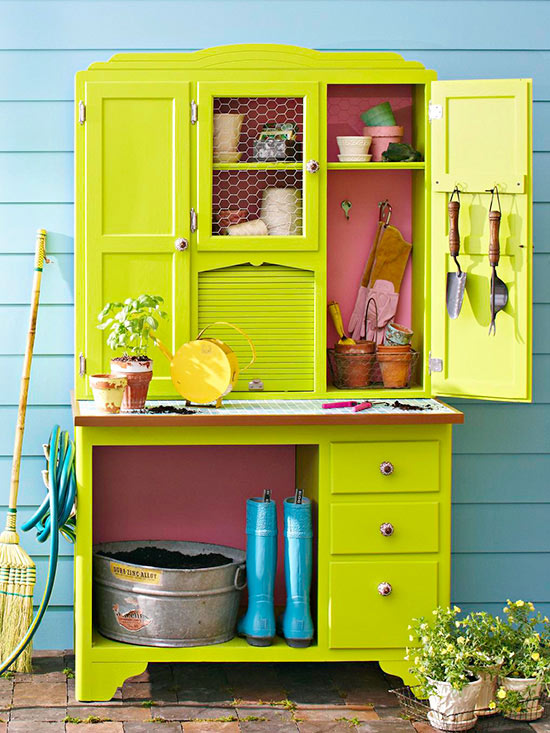
We turned a trashed craigslist.org china cabinet into a powerhouse potting bench, starting with coats of exterior primer and paint to help protect it from the elements.
continue reading below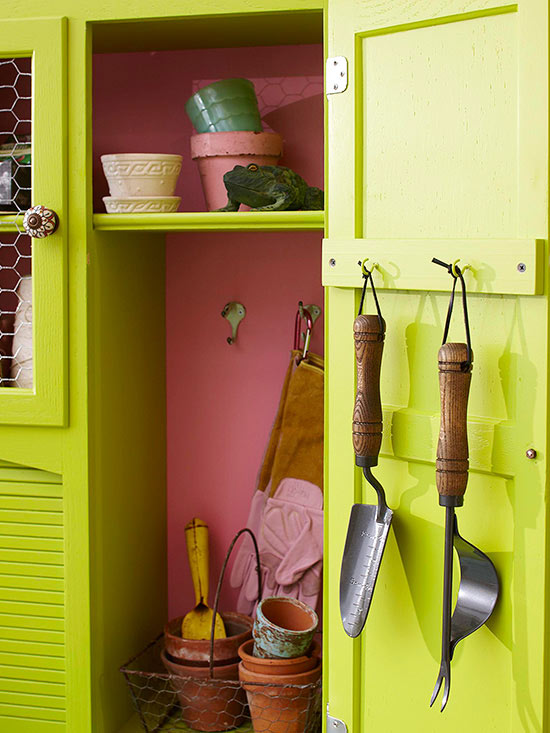
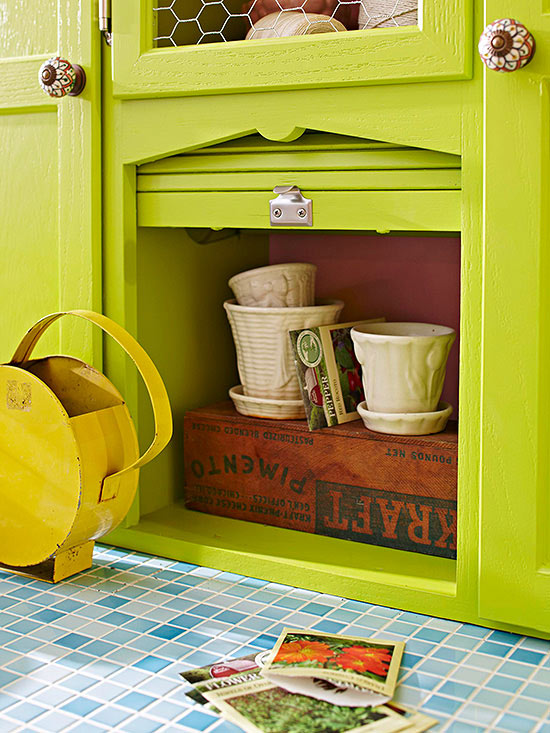
Hooks screwed to supports inside the cabinet and on the door keep frequently used garden implements handy, while shelves hold pots, gloves, and other supplies.
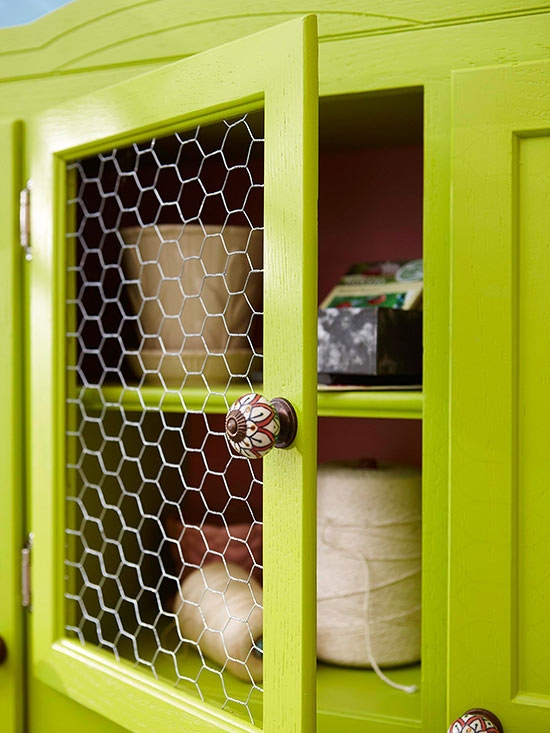
Replacing the glass with chicken wire gives the cabinet an outdoor vibe. We also ditched the old cabinet hardware in favor of fun decorative knobs.
To make the cabinet top work-worthy, we replaced it with a piece of exterior-grade plywood covered in tile. See the step-by-step how-to, below.
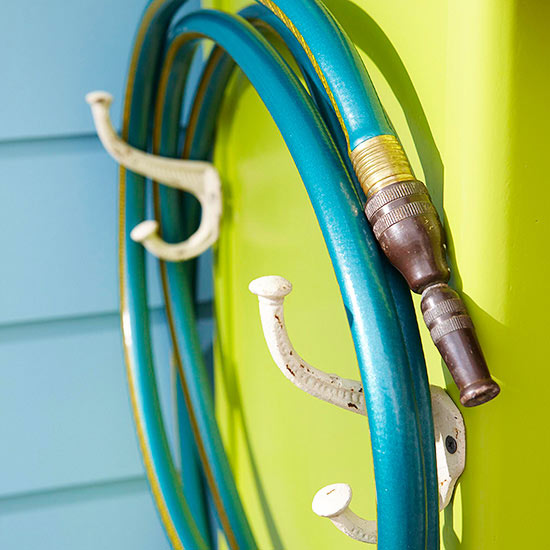
Keep water close to your work space. We used two vintage coat hooks drilled into a support board inside the cabinet to create a handy hose holder.
What you'll need:
Remove doors, hardware, glass, and cabinet back (if possible). Separate top of cabinet from base. Fill any holes with wood putty, and sand all surfaces.
Apply exterior primer to entire cabinet inside and out. When dry, paint the entire cabinet, then any doors and drawers that you have removed. If necessary for even coverage, apply a second coat.
Once paint is dry, measure any windows you will be covering with chicken wire. Cut wire to fit, plus ¼ inch extra on each side. Attach wire to the back of the window with staples then cover with wood trim and secure with pin nails. Screw on new knobs and drawer pulls. Reattach doors using new hinges.
Cut plywood to fit the cabinet top (what will become the potting bench work surface). Screw plywood to cabinet base. Adhere border to plywood with wood glue.
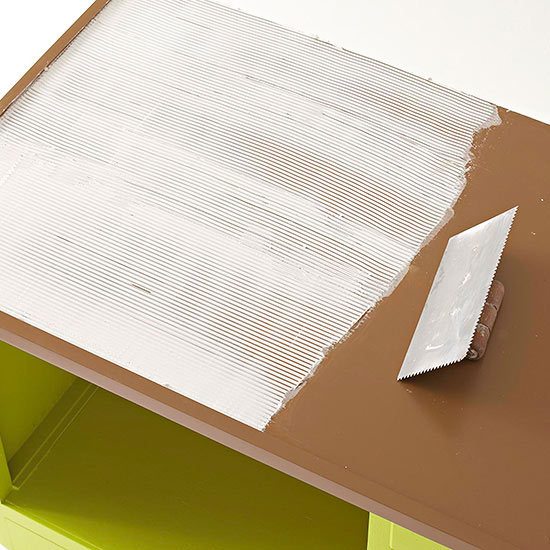
Use a notched trowel to apply thinset adhesive to the top of the plywood.
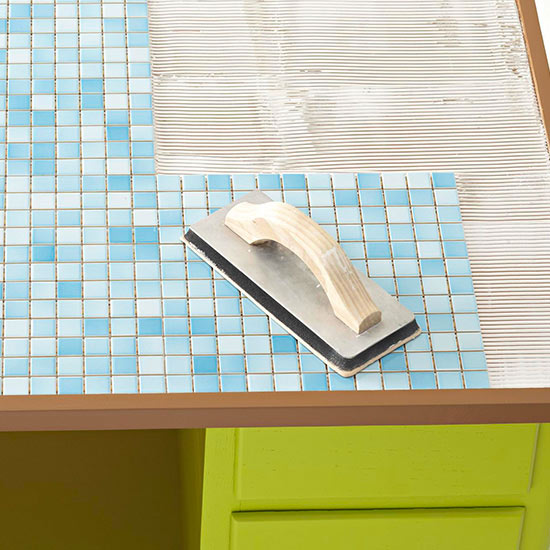
Place tile on the adhesive.
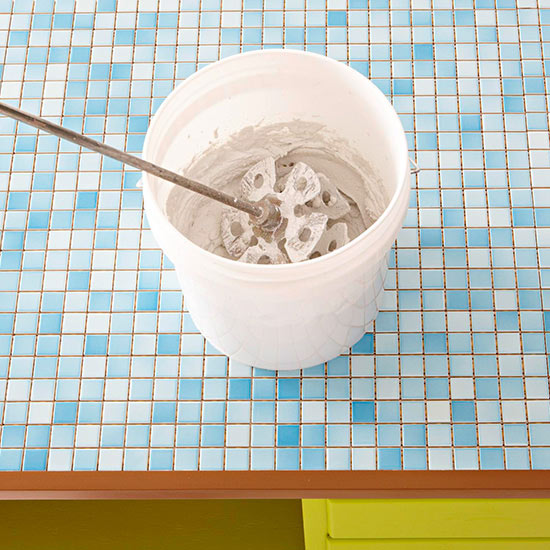
Let dry for 24 hours. Mix grout according to package directions.
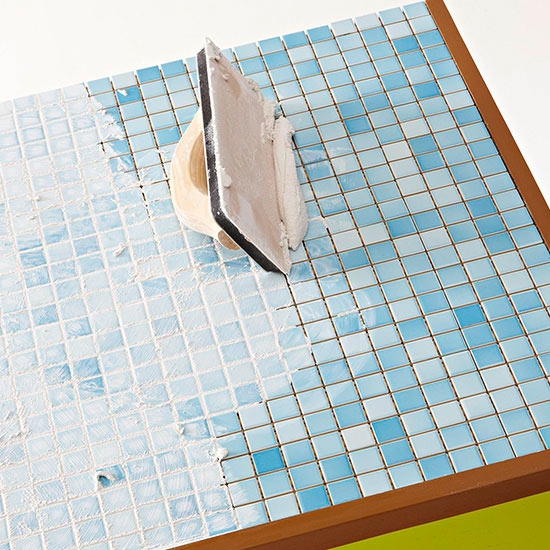
To grout tile joints, use a rubber float to spread the grout mix over the surface.
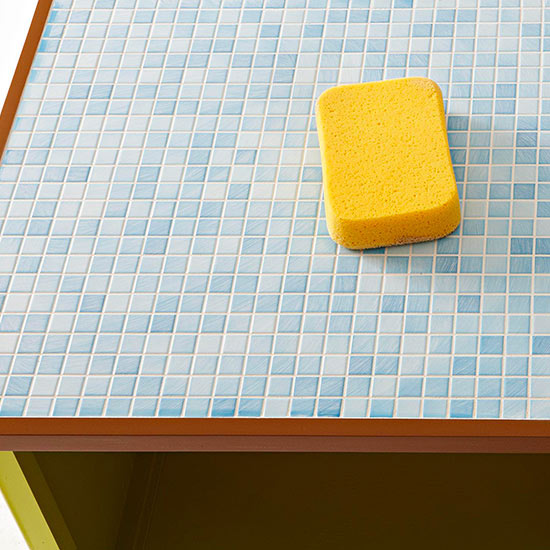
Once the grout is firm, use a damp sponge to wipe off excess.
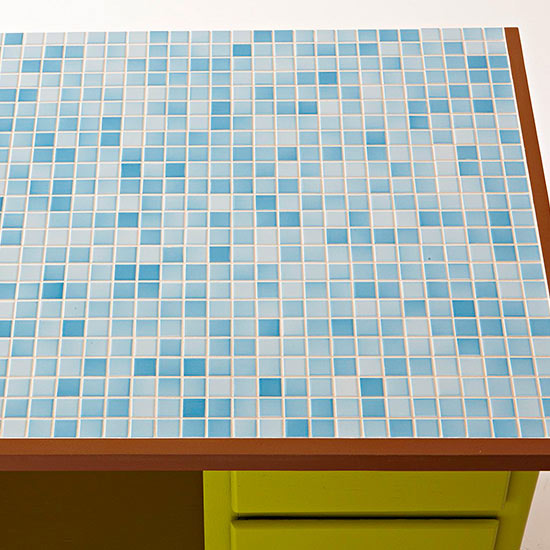
Allow the grout to set for 24 hours. Apply grout sealer according to package directions.
Secure the hutch to the cabinet base. Reattach the back. Add hooks to hold hose and other garden tools. Place the finished workstation on a covered patio or other outdoor space where it will be protected from the weather.
Copyright © www.100flowers.win Botanic Garden All Rights Reserved