



Potting your own amaryllis bulb saves money and lets you choose the exact variety you want. It's easy—just follow these steps.
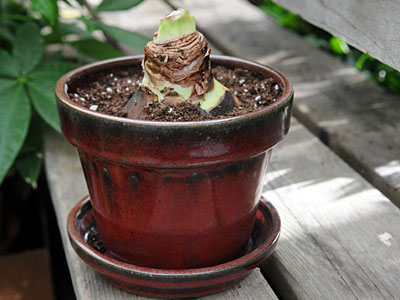
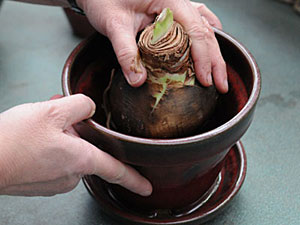
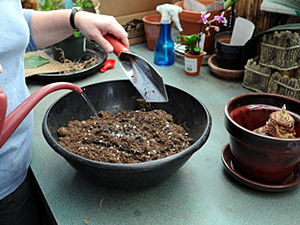
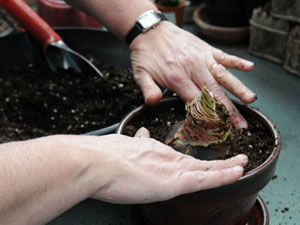
Moisten mix before filling—it's easier to work with and ensures even hydration. Never use garden soil; it compacts and may rot the bulb. A quality soilless mix is ideal.
Cut off spent flower stalks. Keep leaves growing with light and water to recharge the bulb. In fall, let foliage die back, store cool and dry for 8–10 weeks, then repot and restart the cycle. For detailed reblooming instructions, see Amaryllis Care.
Indoor Phalaenopsis Care: Decorative Pot Dangers, Watering, and Light Solutions
Saving a Rootless Oncidium: Emergency Care After Pseudobulb Breakage
Repotting a Desert Rose: When and How to Do It Right
Madagascar Dragon Tree (Dracaena marginata) Care and Repotting Guide
How to Pot Up Roses: Container Growing for Small Spaces
Forcing Amaryllis Bulbs Indoors: A Complete Guide to Winter Blooms
How to Grow Amaryllis Bulbs Indoors for Stunning Winter Blooms
Expert Orchid Potting: Media, Methods, and Mistakes to Avoid
How to Grow Daffodils: From Bulb Selection to Bloom Care
How to Plant Strawberries in a Strawberry Pot for Small Spaces
How to Pot an Orchid: Step-by-Step for Healthy Root Development
How to Repot Orchids: Step-by-Step for Healthy Roots and Reblooming
Copyright © www.100flowers.win Botanic Garden All Rights Reserved