

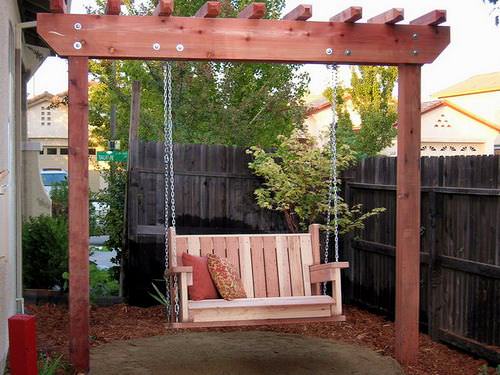
This is a great time of year to tackle some of those bigger garden projects that have been on our “want” list. A bigger project doesn’t mean that it has to be complicated, however. Arbors can be used in the garden as an entry, a focal point, or even as a swing structure! Here are some easy instructions on building a DIY garden arbor that even a beginner can handle. No complicated carpentry instructions here!
Supplies
Step One:
You are using ten foot long 4×4 posts so that you can dig them at least two feet into the ground, preferably three. This is necessary to keep the structure stable, especially where the ground freezes. Using a post hole digger, dig two holes five feet apart where you would like the arbor to sit.
Add gravel into the bottom of the hole to ensure good drainage. This prevents the post from rotting. Add the posts to the holes. Add two bags of quick setting concrete to each hole. Partially fill with water, then use the level to make sure the posts are…well, level. Fill the rest of the way with water as per directions on the concrete bags. Continue to periodically check the level until the posts are firm. Allow concrete to set several days to harden well. You have to work fast here, keep leveling as the concrete does harden quickly. Do one post at a time.
Step Two:
Measure up each post seven feet from the ground and mark. Hold up one of the 2×6’s lined up with the marks you just made, then use the level to make sure it is level across and make any adjustments to your marks as necessary. Use a saw to cut off both posts so they are the same height. Do I have to say it? Do NOT be careless here! Especially if you are using a power saw. If power saws scare you or are too heavy for your to hold, (I feel you ladies…) use a sharp hand saw. It will work, it will just take longer!
Step Three:
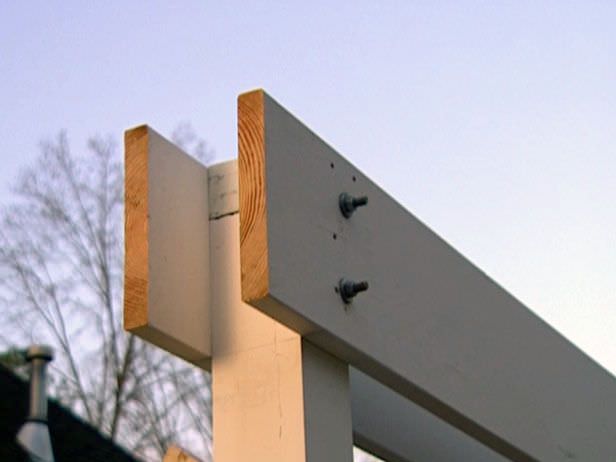
Using screws and a drill, attach each 2×6 to the side of each post at the top, as shown in the photo. Make sure they overhang the same on each side. You will need an extra hand for this part of the project. (I actually think an extra hand for the whole thing is a good idea!) The photo shows bolts but you can use screws.
Step Four:
If you want, you can create more decorative details by cutting the ends of the 2×6’s at an angle, or adding equal lengths of 2×2’s or whatever size you prefere, to the top as shown in the large photo. Also feel free to leave it simple…you know what you like.
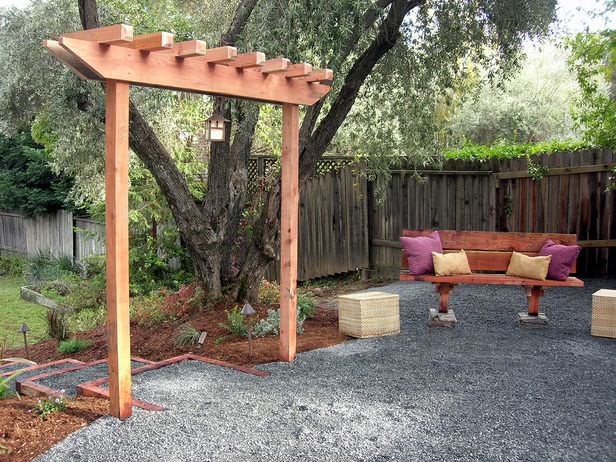
That’s it! Plant a wonderful vine at it’s base to make a dramatic focal point in your garden that you created yourself. Yes, you can do this project! Build yourself a simple garden arbor and enjoy it for years to come. What do ya say? Got the guts to give it a try?
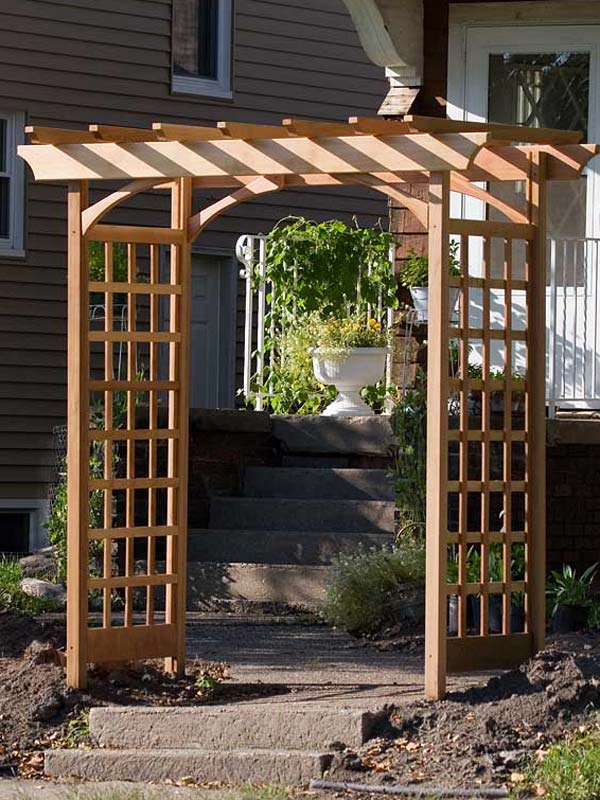
Here are some more garden arbor ideas to inspire you! You might want to try one of these depending on your abilities.
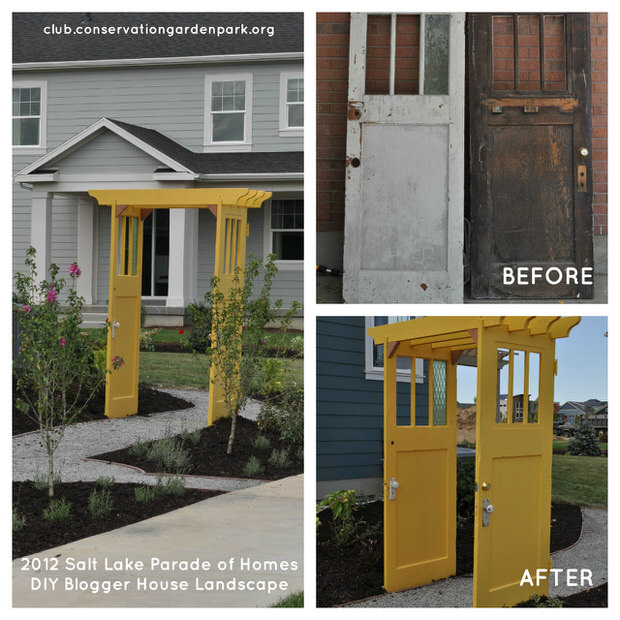
Here’s a great idea of using old doors and a tutorial here.
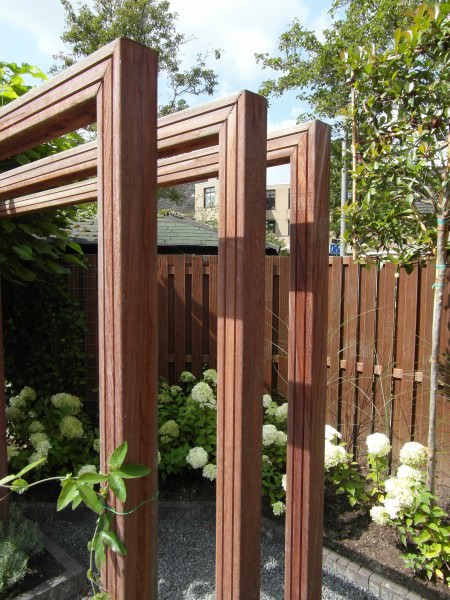
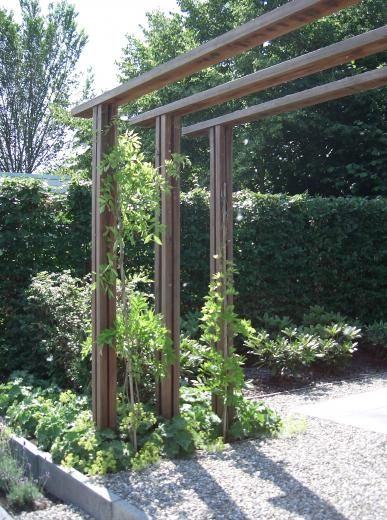
Here are a couple modern and contemporary arbors.
Copyright © www.100flowers.win Botanic Garden All Rights Reserved