

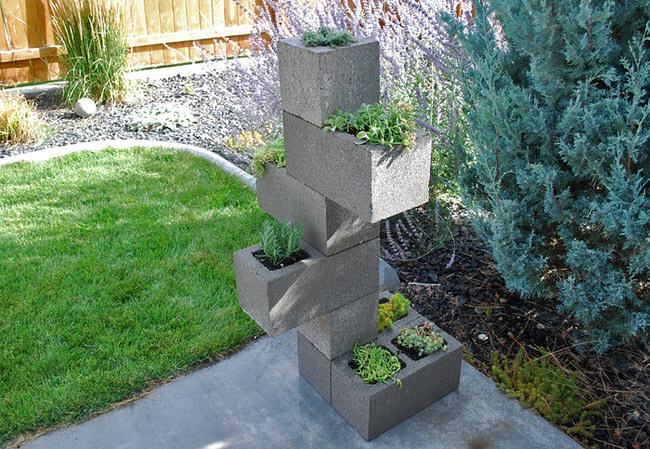
You may have seen other cinder block planters circulating the internet. Well we decided to post a version ourselves, because they’re just… so. darn. cool. We wanted to try one of our own, but do it a little different. So we went up! We made this DIY cinder block planter go vertical, and we did it in an afternoon. The cool thing about this project, is you can pretty much make it as big or small as you want… Just buy more blocks! We recommend you play with the design…which blocks go which way, how far you can go with weight and stability,etc… then take a photo of the completed idea. We did this right in the aisle at Home Depot, so we would know how many blocks to buy. Buy a couple extra for flexibility. We capped the bottom of the planter section with these metal flashing squares and some landscape adhesive. Here’s how we did it.
Supply List:
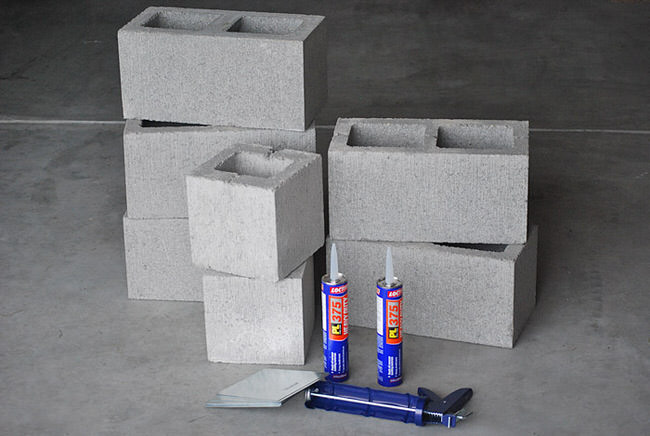
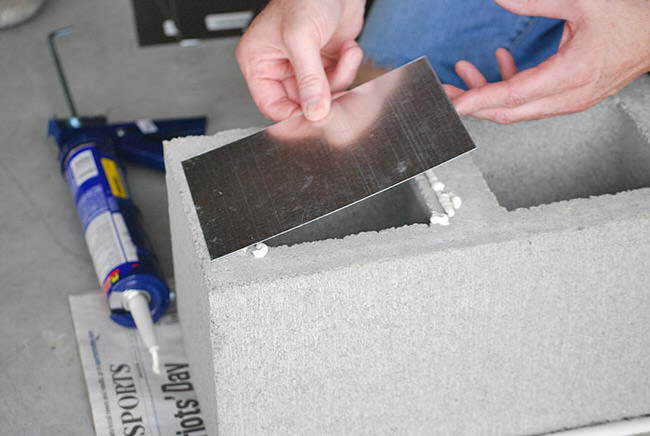
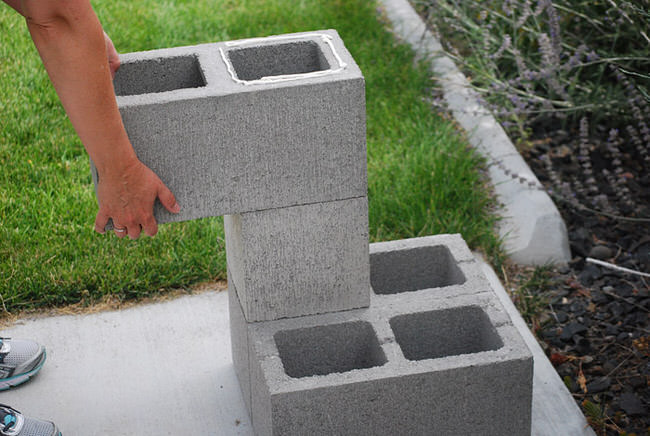
First, adhere the caps to the bottom of the sections that will be planted. This is where your photo from your original design session will come in handy. Insert the adhesive tube into the gun, and squeeze a generous 1/4″ bead onto the block, then press on the cap. Wipe away the excess, as this stuff does not dry clear… you don’t want a goopy mess all over the outside of your finished project. (Additional note: We originally thought that we should only adhere two of the sides so that it wasn’t completely sealed and water could drain out. But quickly found out that all four sides of the metal needed to be adhered to the block to be secure enough to stay attached.)

We felt like they need some weight on them as they dried, so we simply flipped them over onto a piece of newspaper, so that the cap was on the bottom. That way, the weight of the block worked for us. Yes, some of the adhesive sticks to the newspaper, but it peels off later with water really easily.

Assembling the planter definitely takes two. Again, use your original design photo to assemble, and make sure the planter sections with the bottom caps are in the right places. Apply a bead of adhesive, then place the block. Have the second person hold it in place until the weight of the upper blocks stabilizes the lower ones. Hopefully your original design allowed for gravity. :)
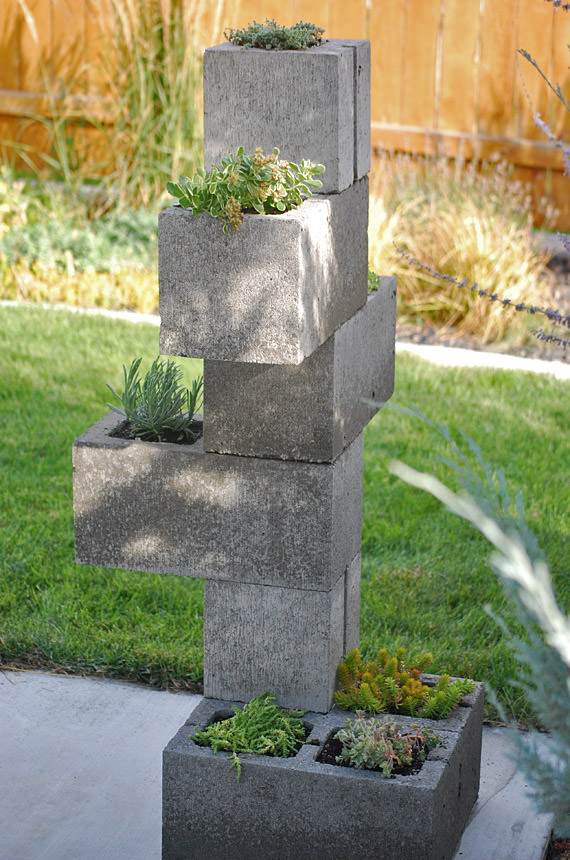
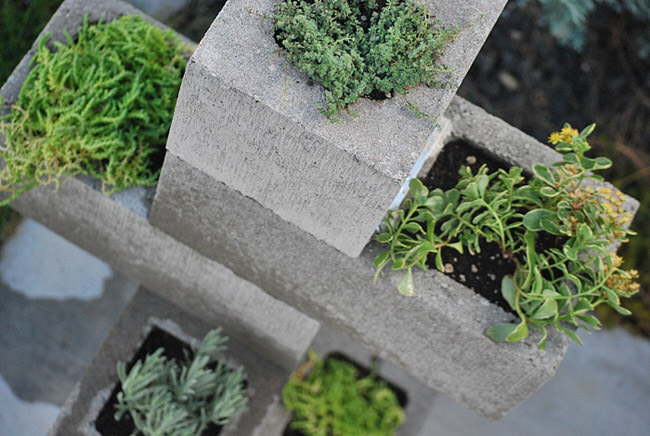
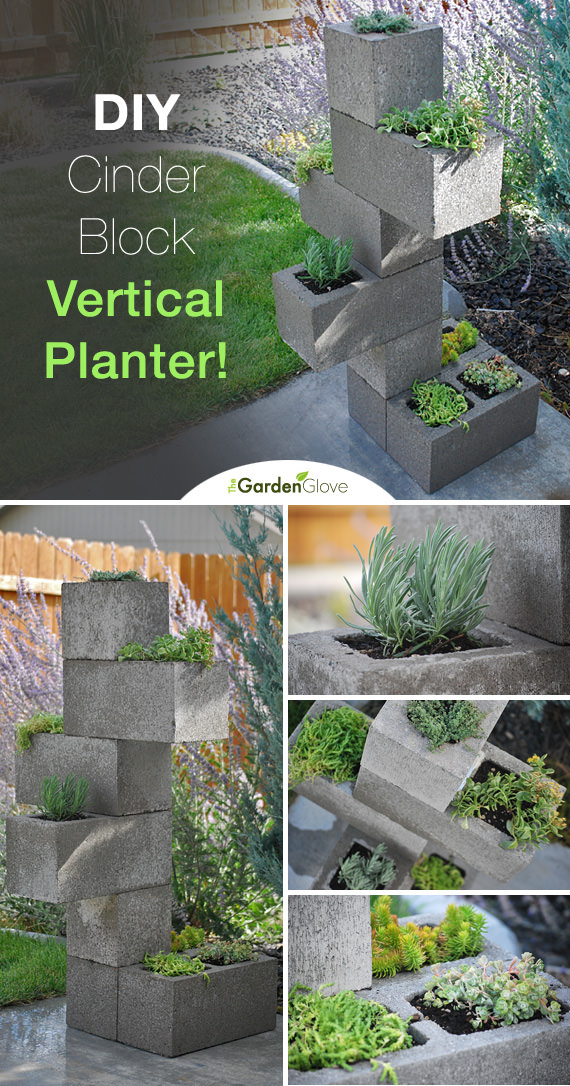
Plant with a lightweight potting soil and 4 inch plants. We used sedum (and one lavender!) because they love the porous nature of the cinder blocks, and ours will be in sun much of the day. If yours is in shade, how about ferns and mosses?
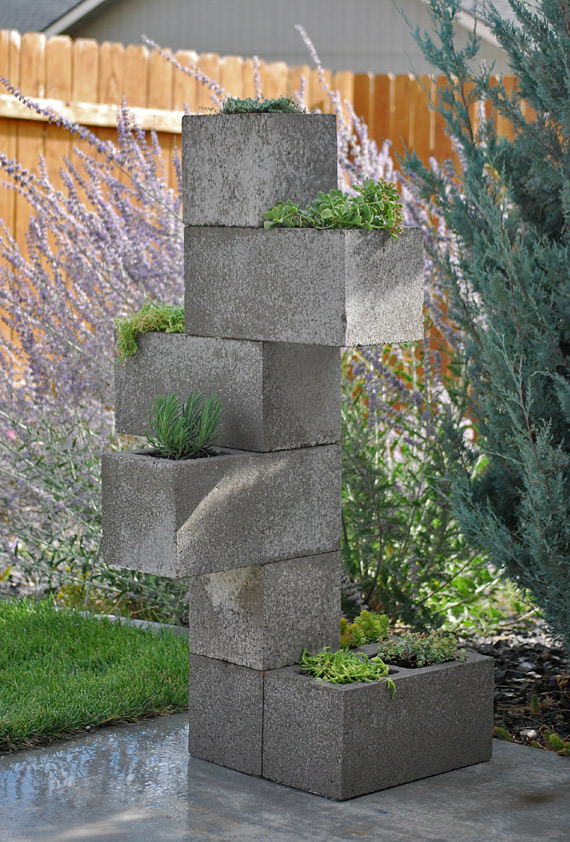
We love the way it turned out. It has a cool urban garden look!
Pin this photo to share, or just to make sure you save this idea for yourself, for later!
Copyright © www.100flowers.win Botanic Garden All Rights Reserved