

• 4 pressure-treated posts, 1×1 inches and 8 feet long (found where decking materials are sold)
• Measuring tape
• Marker
• Carpenter square
• Safety glasses
• Saw
• Hammer
• Nails
• Exterior paint
• Paintbrush
continue reading below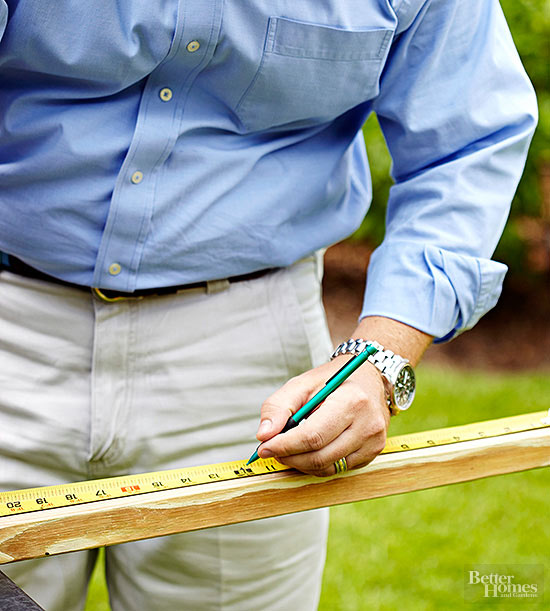
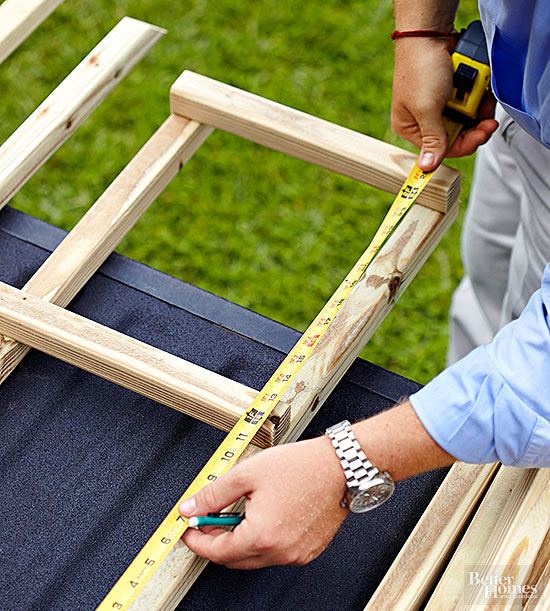
Mark each of the pressure-treated posts for the various lengths needed (see list of measurements below).
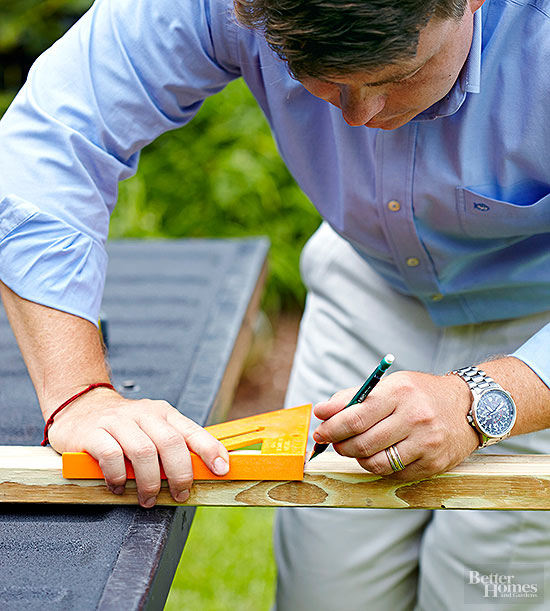
Make straight cutting lines with a carpenter square to aid in cutting.
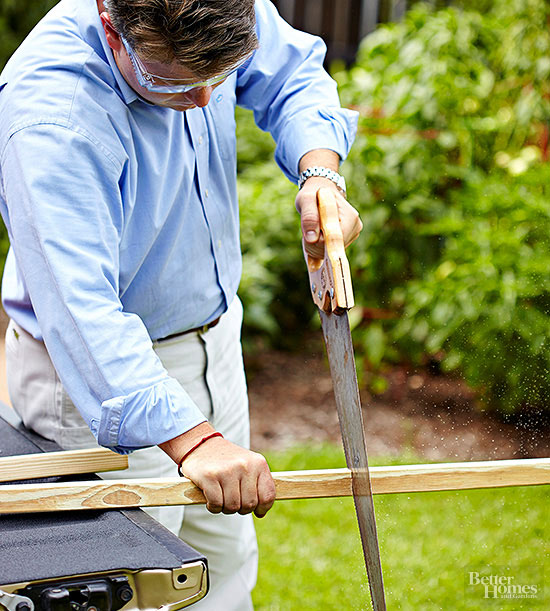
Saw posts into lengths needed (see below). Trim one end of each leg and one end of the center post at a 45-degree angle for inserting into the ground.
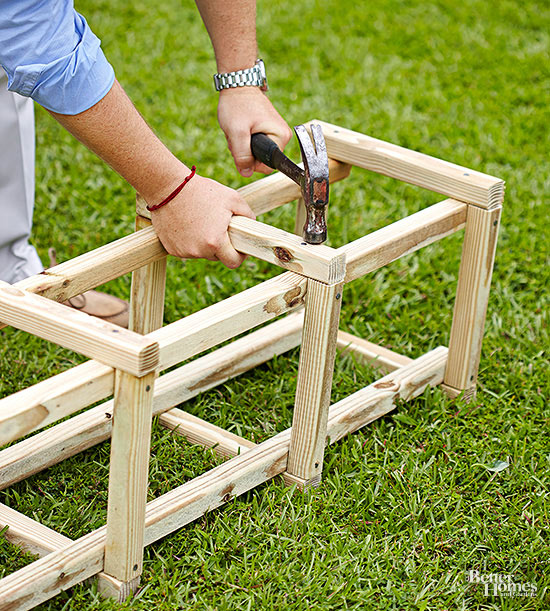
Nail a 10-inch piece to the top of two legs. Repeat with the other two legs.
At 1-foot intervals, attach the second and third 10-inch lengths.
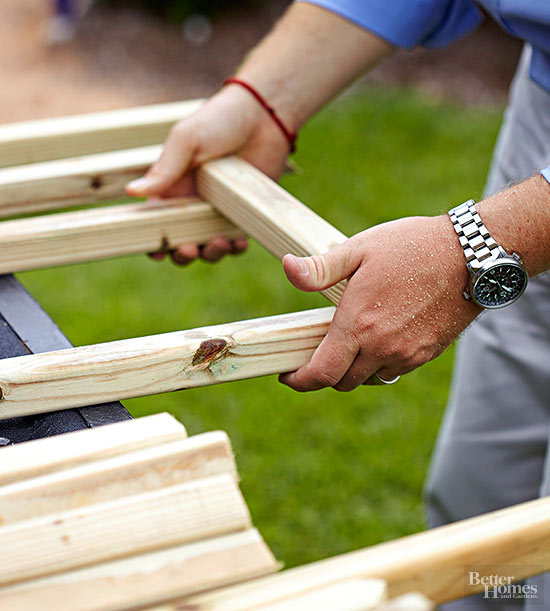
Connect the leg panels by attaching the 12-inch pieces to the outside of the 10-inch lengths.
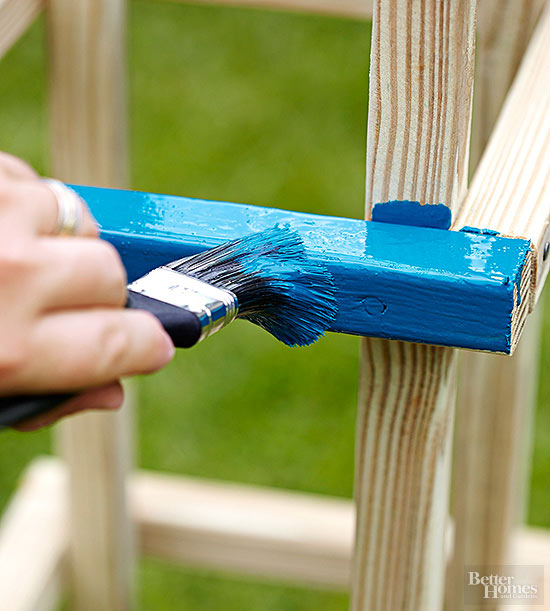
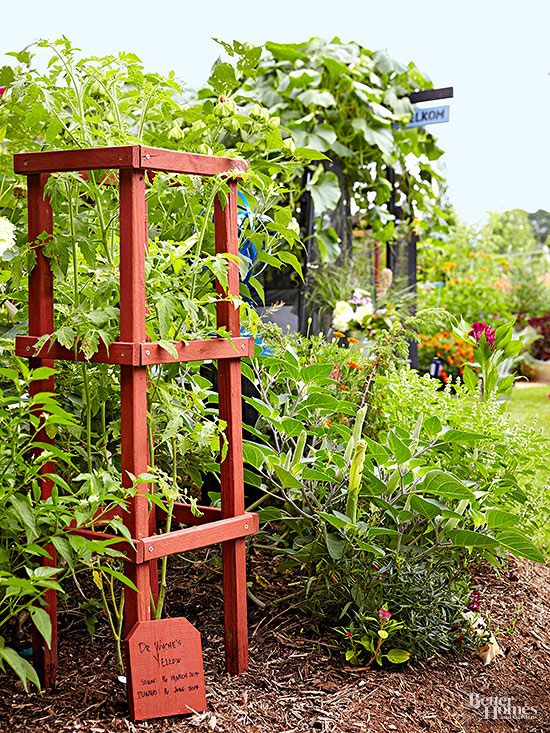
Choose an exterior-grade paint to add color to your tomato cages.
To make this tomato cage, you'll need four 8-foot posts cut to the following lengths:
Here's how to cut four 8-foot posts most efficiently to get the pieces you need:
Copyright © www.100flowers.win Botanic Garden All Rights Reserved