


If you find yourself with overstuffed pockets or are always losing your garden tools, this apron is perfect for you.
continue reading below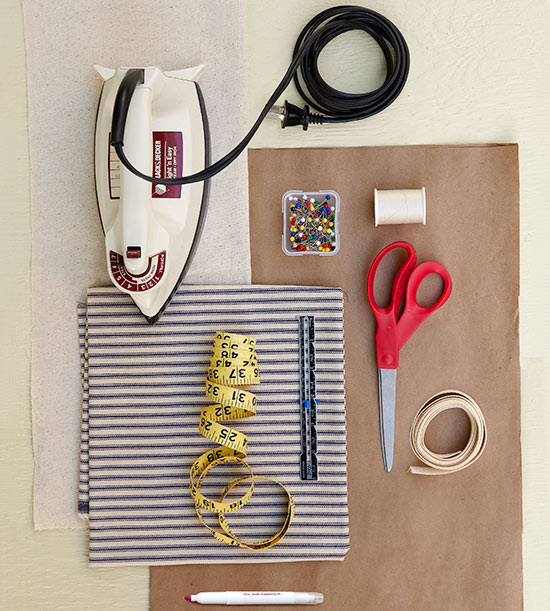
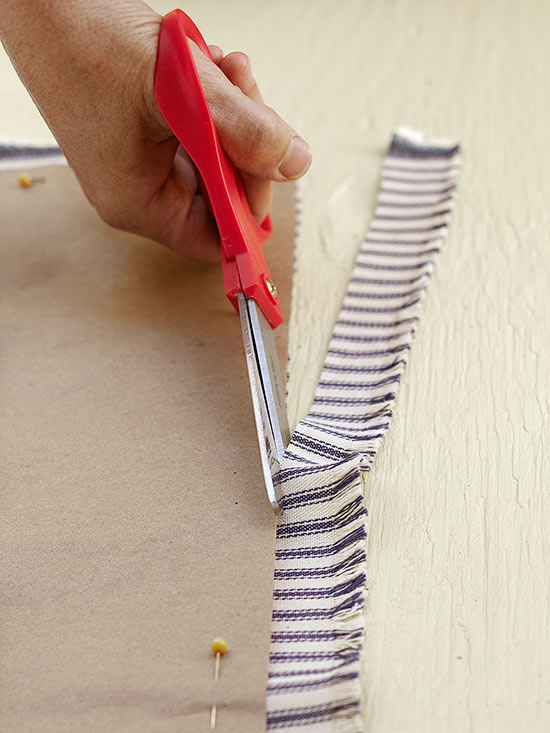
Measure and cut apron pattern pieces from kraft paper or newsprint. Pin patterns to fabric and cut out ticking for the apron body and muslin for the pocket.
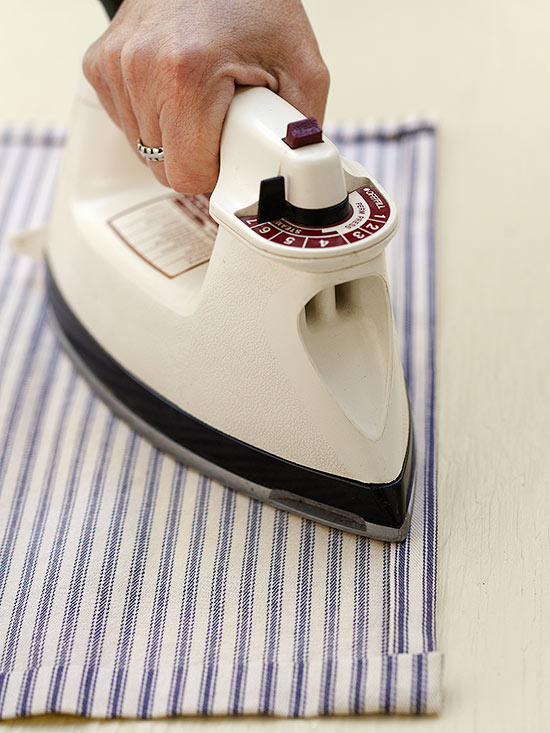
Set iron on medium-high/cotton setting. Prepare to hem apron body: Fold ½ inch of raw edges; pin as needed, press, remove pins. Fold another ½ inch on both sides and bottom; pin as needed and press. Fold another ¾ inch on top; pin and press.

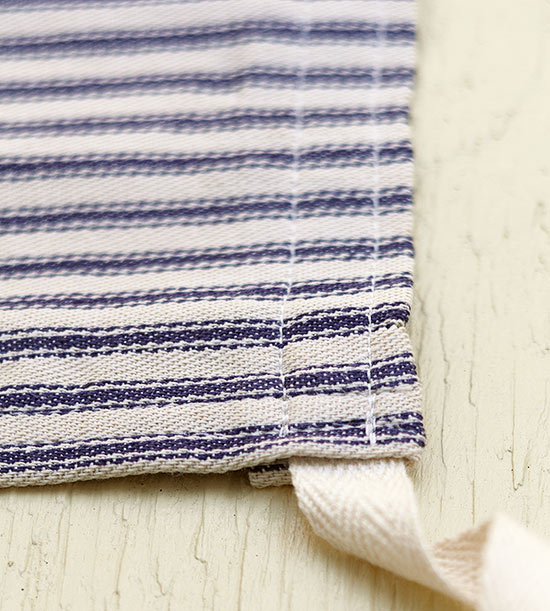
Cut twill tape into two 38-inch-long pieces for the apron ties. Tuck one end of each tie under each end of the top hem, placing it ¾ inch in from apron side. Holding top hem in place over twill tape, pin tape between the layers of fabric.
Machine-stitch all the way around apron body ¼ inch from edge, then again ³⁄₈ inch from edge. Double stitching reinforces the apron so it will hold up to garden chores and multiple washings.

Hem pocket by folding ½ inch of both sides and bottom; pin, press, remove pins. Fold the top 1 inch, pin, press, remove pins; fold another 1 inch, pin, press, remove pins. Sew along top, stitching ¼ and ¾ inch from edge. For pocket placement: Fold apron and pocket in half, marking the center of each with pen. Place pocket so top is about 4 inches from top edge of apron, matching center marks; pin. Stitch sides and bottom ¼ inch from edge.
Copyright © www.100flowers.win Botanic Garden All Rights Reserved