1. Home
  2. Question and Answer
  3. Houseplants
  4. Garden Articles
  5. Most Popular Plants
  6. Plant Nutrition

Easy Berry Jam Recipe: How to Make Jam

easy-berry-jam-recipe

Here is an easy berry jam recipe with just two ingredients—you can learn how to make jam in no time! Plus, this recipe will help you turn grandma’s complicated strawberry jam recipe into a simple and quick process.

Importantly, this simple jam has that naturally delicious, flavor-packed taste that all jam lovers crave.

Making Jam, Jelly, and Preserves

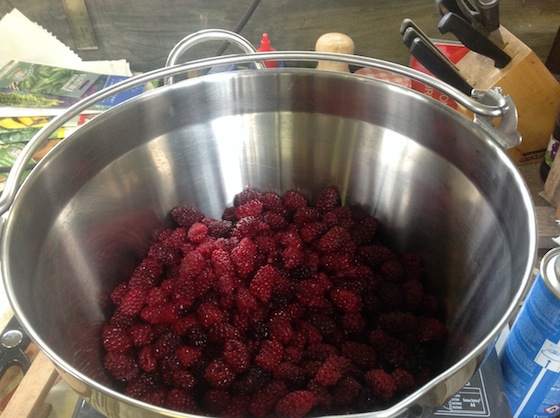
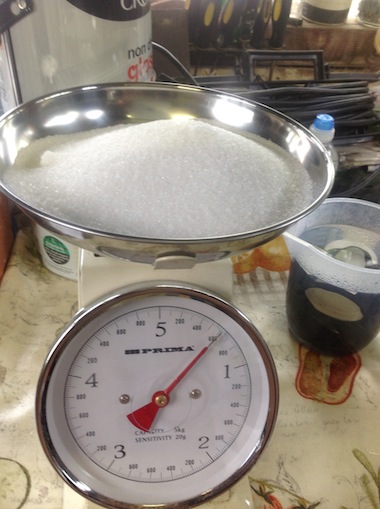
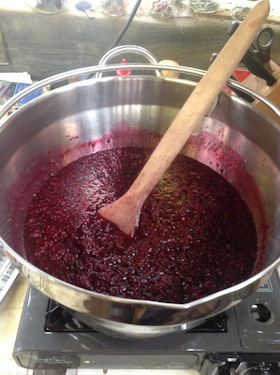
For this home-style recipe, you simply need equal parts of berries and sugar. Skip the fruit pectin. Though it helps jam jell, it can also dilute the natural flavor of the fruit. You may need to cook the fruit a bit longer, but it’s worth that old-fashioned taste.

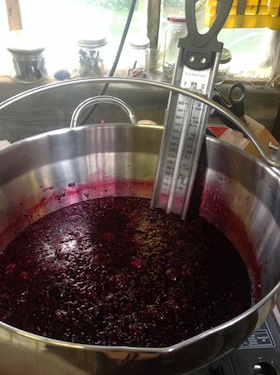
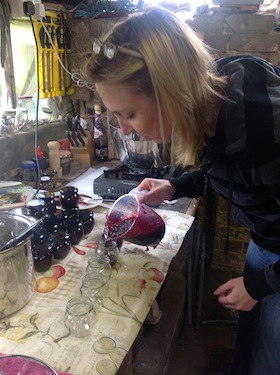
We used boysenberries grown in our community garden. The berries were frozen last season and we had to make room in the freezer for this year’s crop! In fact, we made this jam right in the old garden shed, with an electric kettle and single burner stove; I’d run out to the garden faucet to fill up bottles with fresh water!

boysenberries-homemade-jam.jpg

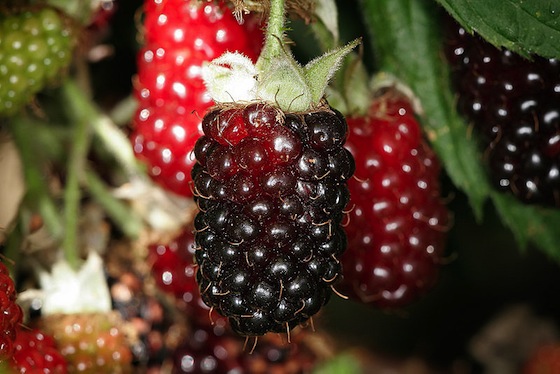
I love the intense flavor of the boysenberry—which resembles a red blackberry (and is in fact a cross of several types of berries). Another favorite is classic strawberry jam, especially with fresh-picked strawberries! For making this jam, any soft fruit will do, including raspberries, blueberries, strawberries, peaches, apricots, nectarines, or rhubarb. Extra points if you grow your own!

Note: This recipe does not involve processing with a hot water bath as you would with a larger (or commercial) canning project. We are, however, placing the jars and lids in a pot with boiling hot water (while the berries cook). If you are concerned with safety, just pop your homemade jam in the fridge.

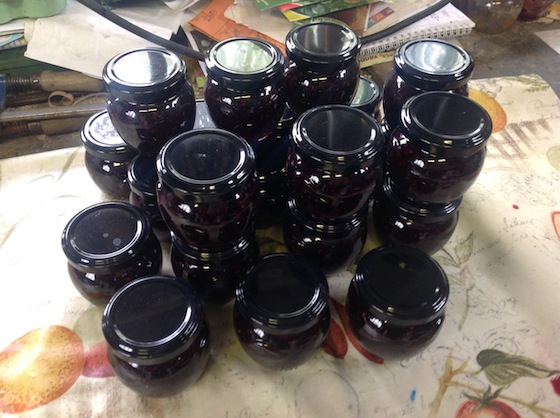
This is a very small-batch recipe that is meant to be quick and easy—any time you have some berries on hand from the garden or market or a day of berry picking!

Jam Ingredients and Materials

  • The night before, defrost fresh berries if they’re frozen. If you have a blueberry bush or love to have blueberries around, you can freeze your blueberries and use them in jam whenever you want!
  • Put a small plate in the freezer to chill.
  • Have clean glass jars and lids on hand. We used small jars to sell at a school fair.
  • We had about 4 pounds of berries and used almost the same amount of sugar.

If you don’t want to make such a large batch, use this recipe which measures by cups:

  • 4 cups berries
  • 4 cups granulated sugar
  • YIELD: Makes 4 cups.

Note: You can use one-third less sugar, but you need the sugar for the jam to gel.

Directions: How to Make Jam

  • Put the clean berries in a large stainless steel pot. Bring to a full, steady boil over high heat until the berries reduce and there aren’t any large lumps left. There is no need to include water while boiling, as the berries have plenty of moisture themselves. Stir consistently.

how-to-make-jam.jpg

  • Weigh the sugar and add to berries in a steady stream. Keep stirring until sugar is dissolved. Tip: If you feel the bottom of the pot and it’s “crunchy” with sugar, then it’s not ready.

sugar-two-ingredient-jam.jpgjam-recipes-boysenberry-jam

  • Now bring the mixture to a rolling, bubbling boil on the highest heat. Add a thermometer, if you have one, to ensure that the temperature is as far above boiling point as possible. Some cooking thermometers have a “jam” setting.

temperature-berry-jam.jpgdirections-berry-jam.jpg

  • While the jam is cooking, sterilize the glass jars and lids in boiling water.
  • Tip: To determine when the jam is ready, do the “wrinkle test.” Take the cold plate out of the freezer and spoon a teaspoon of berry liquid on the plate. Push your finger against the liquid. Is it thick enough to wrinkle? If so, the cooked jam has reached a setting point.

wrinkle-test-making-jam.jpg

  • Remove the berry sauce from the heat. Allow to cool for 10 minutes. Pour the cooked berry mix into your hot sterilized jars.

jam-jelly-preserve-berries.jpgjam-recipes-berry-jam.jpg

  • Place the lids on the jars at once and twist them tightly. You should hear the heat cause the jar to “snap” or seal. If you don’t hear the pop, definitely put the jar in the refrigerator and not in the cupboard.
  • Note: USDA guidelines for food safety recommend a boiling water bath for high-acid foods. If you are going to store the jam for a longer period, it’s advisable to put the jars through a boiling-water bath for 10 minutes. This recipe is for jam that you’ll be eating soon!

strawberry-jam-recipes.jpg

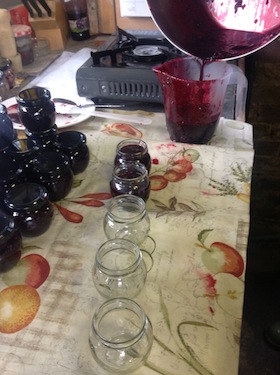
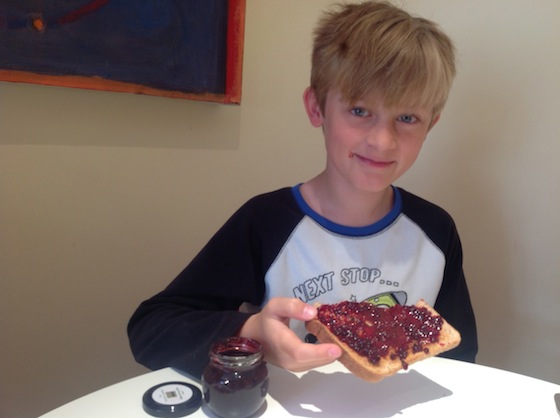
After making this jam, I was given 2 jars to take home! The next morning, we were ready to spread pure goodness on our morning toast. Do you think my taste tester liked the homemade jam?

jam-recipes-toast.jpg

If my foray into making jam piques your interest, go to our Canning and Pickling Library for more articles and our Pickles and Preserves Recipes page to find many great jam recipes!

~ By  Catherine Boeckmann

About This Blog

Here at the Almanac, we love to cook, bake, grill, roast, and eat! We show you how to make some delicious recipes.

Tags

  • jam
  • preserves

Copyright © www.100flowers.win Botanic Garden All Rights Reserved