

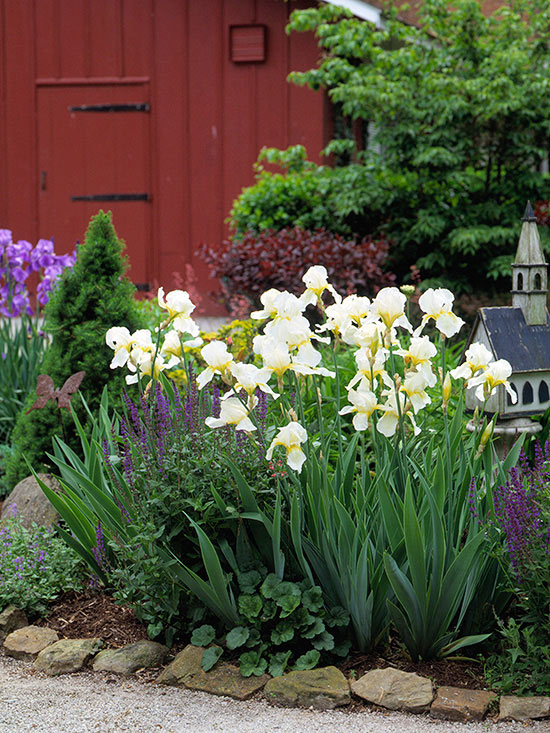
It's a magical time when bearded irises unfurl their pencil-slim buds to reveal a kaleidoscope of color in spring. Once commonly called flags, these perennials flourish in USDA Zones 3-9, where winter temperatures dip below freezing and allow the plant to go dormant before next year's growth.
"Anyone can grow iris," says Doris Winton, who has had a lifelong attraction to the flower and is a master judge for the American Iris Society. While fragrance has diminished through hybridization, the size of blooms has increased, as has the palette. "Every color -- except fire-engine red -- can be found in bearded iris," Doris says.
Below are Doris's tips for growing outstanding bearded iris.
Learn more about growing and caring for iris in our Plant Encyclopedia.
continue reading below
Related Garden Plan: Pink and Blue Garden with Iris
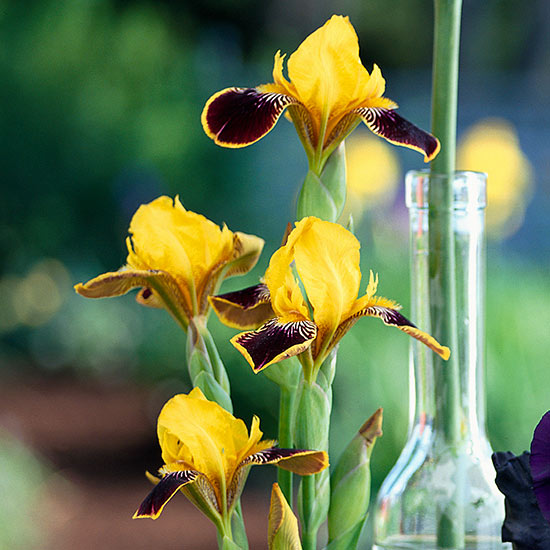
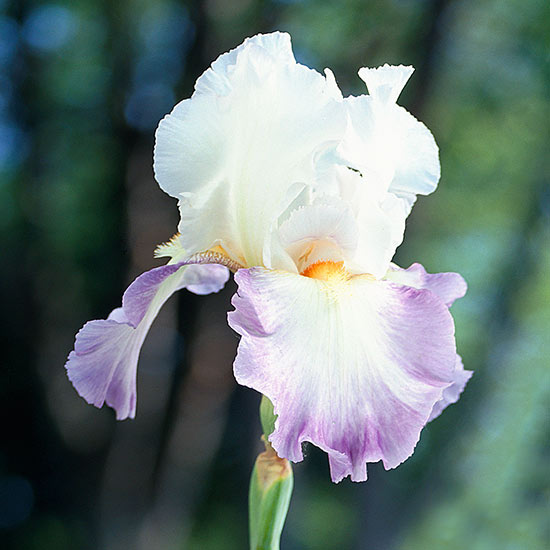
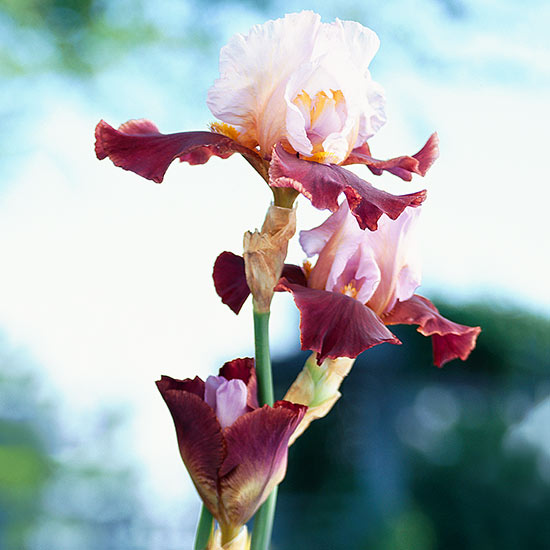
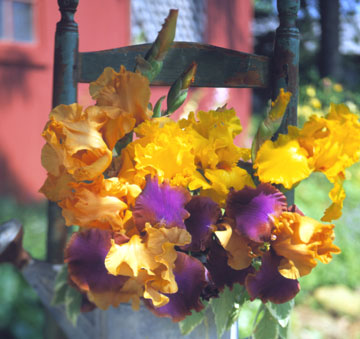 'Avalon Sunset' (apricot); 'Throb'(yellow); 'Syncopation'(violet-orange, brown edges)
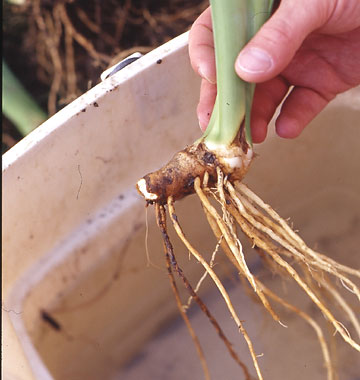
Bearded iris produce leaves, flower stems, and roots from a thick, rootlike structure called a rhizome. As the plant matures, the rhizome produces more rhizomes, which in turn lead to more leaves and flowers. Over time, however, the original rhizome withers and dies off. When this happens, bloom production slows and it is necessary to divide the plant, removing and replanting the baby rhizomes so they can develop.
Bearded iris should be divided in the late summer, when the weather starts to cool. The division process illustrated below can be used for other plants that produce rhizomes, including canna, bergenia, dahlia, toad lily, and lily-of-the-valley.
Learn more about how to grow reblooming irises.
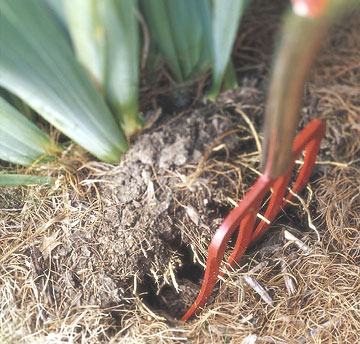
1. Carefully dig the clumps with a garden fork or spade, taking care not to chop into the rhizomes more than necessary.

2. Divide the rhizomes by pulling them apart with your hands. In some cases, you may need to use a sharp knife to separate the baby rhizomes from their mothers. If so, dip your knife into a 10-percent bleach/water solution between cuts.
A good rhizome will be about as thick as your thumb, have healthy roots, and have one or two leaf fans. Large, old rhizomes that have no leaf fans can be tossed.
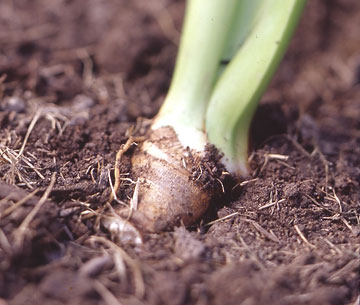
3. Wash the soil off the rhizomes to that you can inspect each one for iris borer (a fat, white worm). If you find a borer, destroy it. Some gardeners like to wash their iris rhizomes in a 10-percent bleach solution to protect against disease, but that won't help plants that are already rotting.
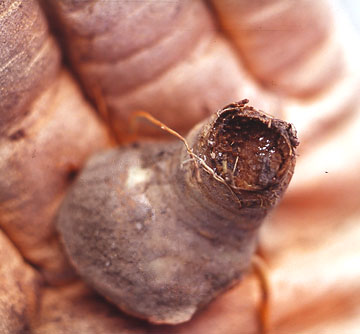
Soft, smelly, or rotting plants should also be destroyed. Discard any that feel lightweight or hollow, and appear dead, like the rhizome shown here.
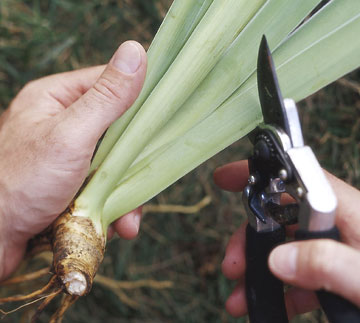
4. Clip off the leaf blades so that they're 4 to 6 inches long. This reduces the stress that the plant goes through as it concentrates on regrowing new roots instead of trying to maintain long leaves.
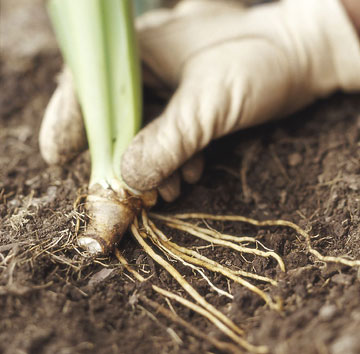
5. Replant divisions, setting the rhizome higher in the planting hole than the fine roots, which should be fanned out. A bit of the top surface of the rhizome should be just visible at the soil surface.
6. Space the plants 12 to 18 inches apart (closer for dwarf varieties, farther apart for the largest). For the best display, plant the rhizomes so the fan of leaves face the same direction. Water them well at planting, but do not continue to water unless the weather becomes dry.
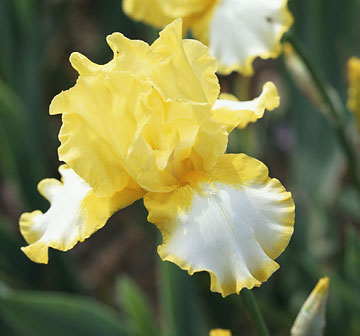
Iris flowers have three primary structures, and descriptions of a variety often refer to these parts. For example, in the flower shown here, 'Fringe of Gold', the drooping "falls" are white edged (or picoteed) in yellow. The upright "standards" are solid yellow. And the tiny fuzzy "beard" in the middle is white. You can use these structure names to imagine how an iris might look when you have only a text description.
As a longtime lover of bearded iris, Doris Winstead has many favorite varieties, including 'Fringe of Gold'. See below for several more of here favorites.
See our favorite reblooming irisies.
Copyright © www.100flowers.win Botanic Garden All Rights Reserved