

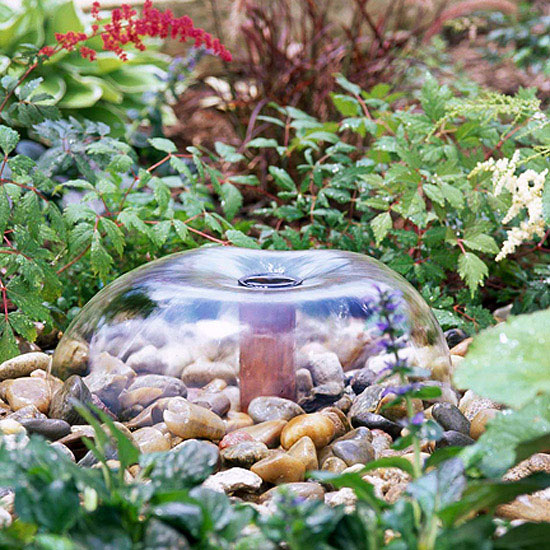
Add the sound of water to your patio with this easy-to-install inground pool and fountain. An underground reservoir captures the water and houses the pump and components that make this pretty fountain function. A safe water feature for homes with small children, the fountain and its covered reservoir reduce safety concerns while still offering the joy of moving water in the landscape.
Personalize your fountain by using any fountainhead you like. A bell-shape fountainhead is used here, but the step-by-step process is the same for any fountainhead you choose. Create more splash and drama with a geyser or multitiered sprayhead. If you would like to turn an urn or other decorative object into a fountain, simply run the vinyl tubing through the vessel rather than attaching a fountainhead.
continue reading below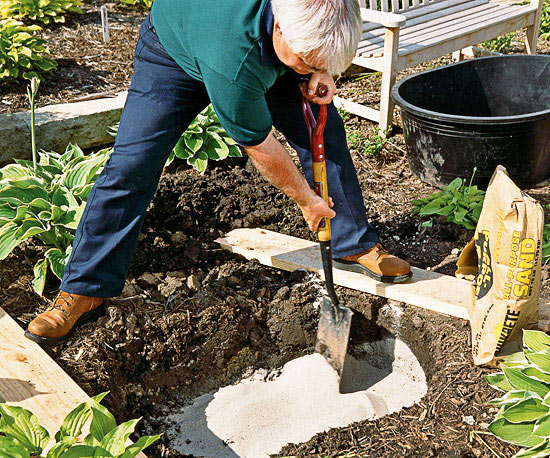
Dig a hole slightly larger than the preformed pond liner and 1 inch deeper. A preformed liner should fit snugly in the excavated space. As you dig, check every so often to ensure fit. For easy cleanup, have a tarp or wheelbarrow nearby to toss the excavated soi inl. Spread 1 to 2 inches of sand in the bottom of the hole.
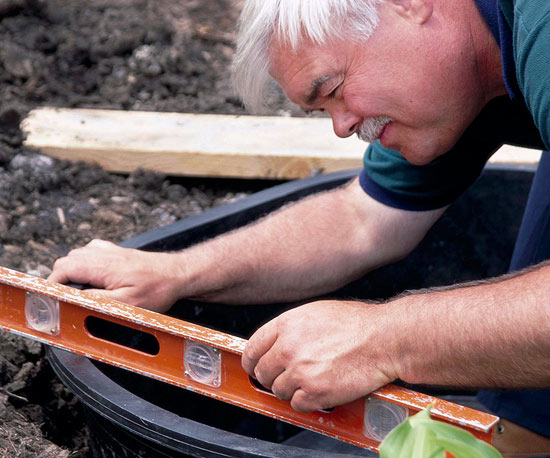
Check that the liner sits level in the hole. A water feature that is not level will slowly leak water and require constant topping off.
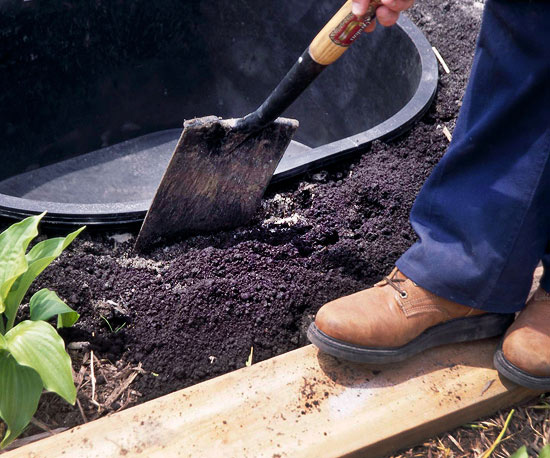
Backfill around the liner with fine soil, checking the level of the liner as you work. Occasionally tamp the backfill with the shovel handle to firm the soil and eliminate air pockets.
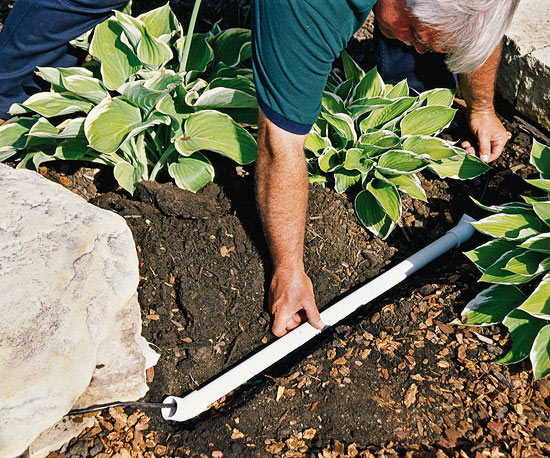
Dig a 2-inch-deep trench from the electrical outlet to the liner. Thread the pump cord through PVC pipe, place the pipe in the trench, and cover with soil. Be sure the outlet you are using has a ground fault circuit interrupter (GFCI) to protect against electrical shock.
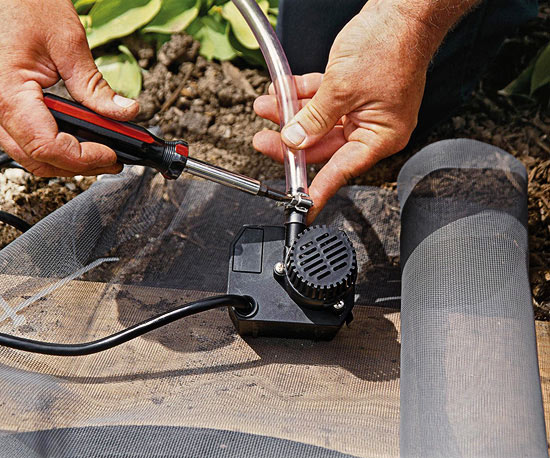
Simply attach the fountainhead to the pump, or if using an urn, attach vinyl tubing to the pump with a hose clamp. Protect the pump from debris by wrapping it loosely with window screening.
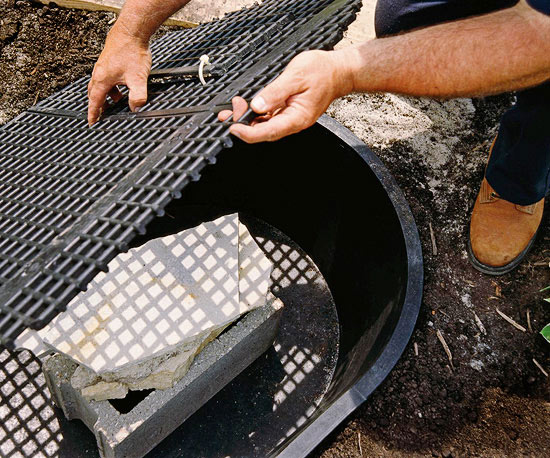
Place a concrete block and rocks in the bottom of the liner. Prepare the grate by cutting a door in the center using a jigsaw. The door should be only large enough to place the pump in the liner and allow the fountain to rise above the grate. When setting up an urn fountain, attach it to the grate with zip ties, do not attach a door. Place the grate over the liner.
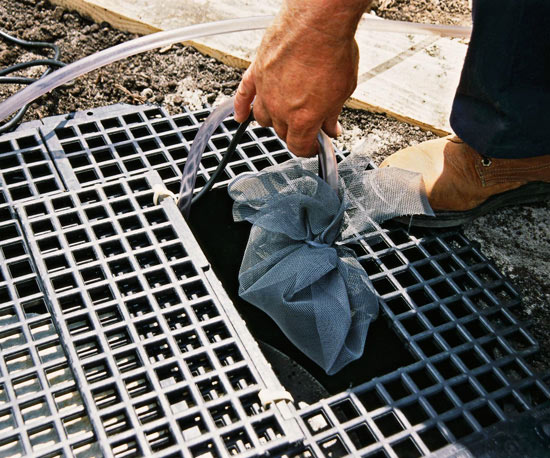
Lower the pump into the reservoir and onto the concrete block. Add flat rocks to achieve the desired fountain height. Fill the liner with water, then test the pump, adjusting water flow to prevent excessive splashing. For an urn fountain, snake the tubing out through the grate and into the urn. Finish by topping the grate with a layer of river rock.
Copyright © www.100flowers.win Botanic Garden All Rights Reserved