

In the garden, change is only natural. Seasons change, climates change, and gardeners change, too. Change comes to gardens -- especially among the plants. As seeds are sown, new varieties are brought home from garden centers, and old plants are divided and spread around, it's time to get out the plant markers to label all those fresh plantings.
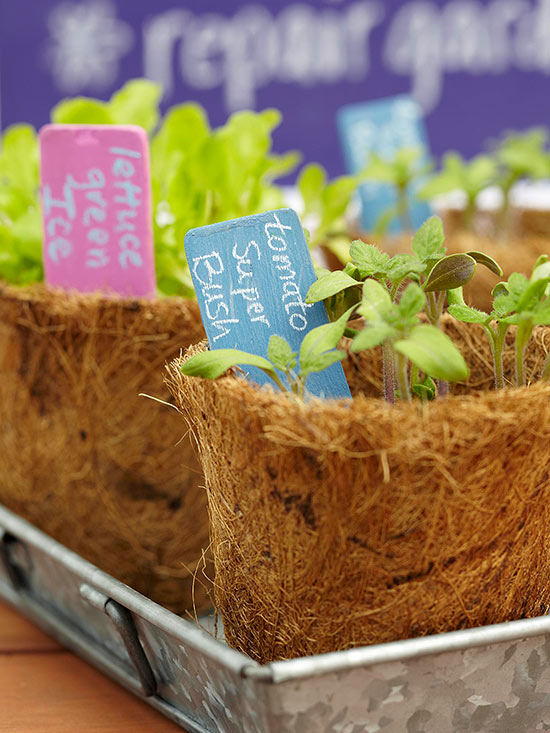
Chalkboard plant labels can be written upon, erased easily, and rewritten upon -- again and again. They work beautifully indoors as well as outdoors. Make wooden plant markers of different sizes and shapes for a range of uses, whether you want to label shrubs, vegetables, transplants, or seedlings.
This project uses materials that you might have around the house or can round up in a quick trip to a crafts store. Start with chalkboard paint that is widely available, or blend the paint and custom colors using the directions below.
Write on the chalkboard labels with white or colored chalk or chalk markers. For more waterproof labels, write with a china marker.
Take the idea a step further and make a large chalkboard. Use it to note your garden to-do list or sketch garden planting plans. Post the chalkboard on your potting bench, in the garden shed, or wherever it will be most handy and ready for reference.
continue reading below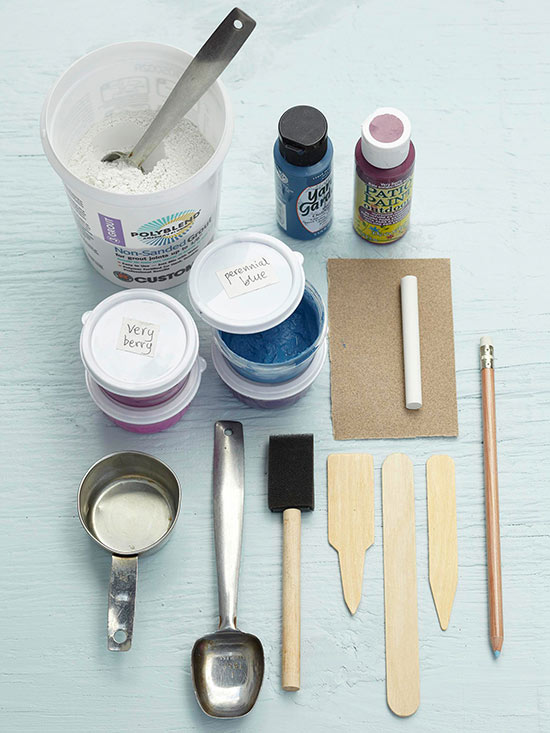
Materials
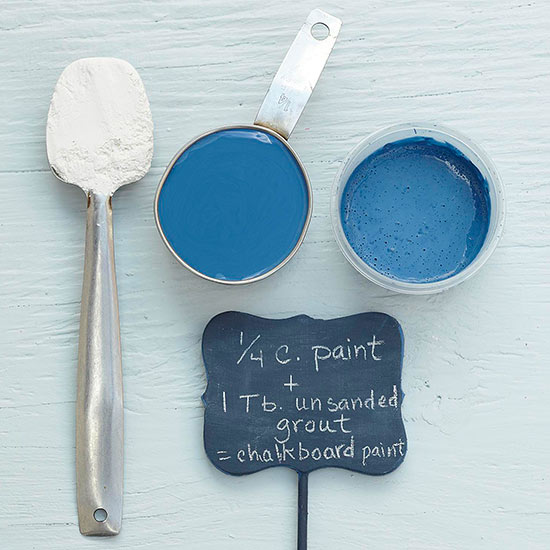
Make your own custom color of chalkboard paint by blending ¼ cup outdoor paint (latex or acrylic) with 1 tablespoon unsanded tile-grout powder. Store paint in an airtight container to keep it from drying out.
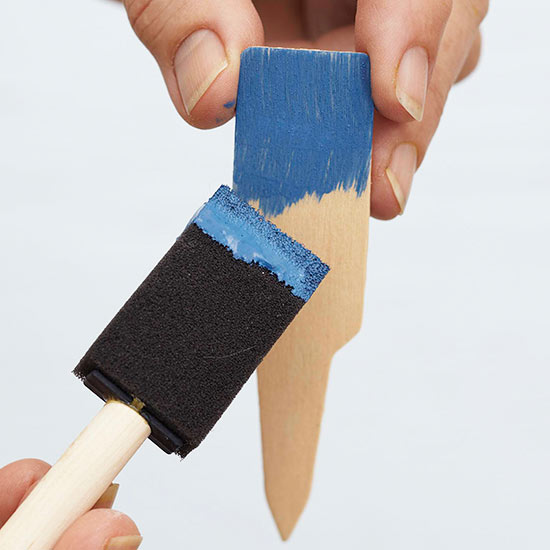
Coat one side of wooden plant markers with paint; set aside to dry. Paint the other side of the markers; let dry. Brush on a second coat of paint and let dry for 24 hours.
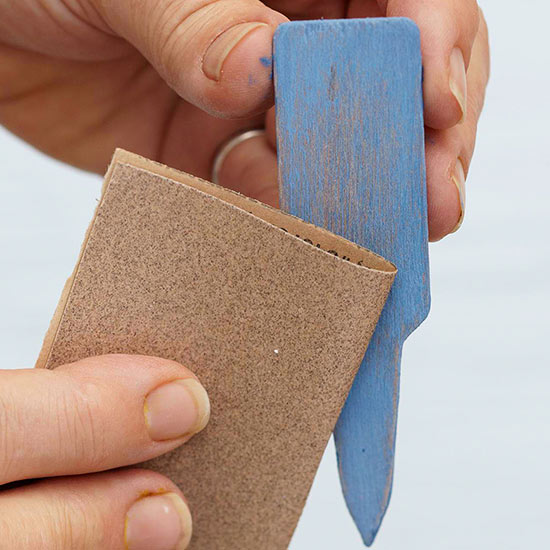
Lightly sand both sides of the plant markers. Brush on a third coat of paint; let dry. Sand lightly.
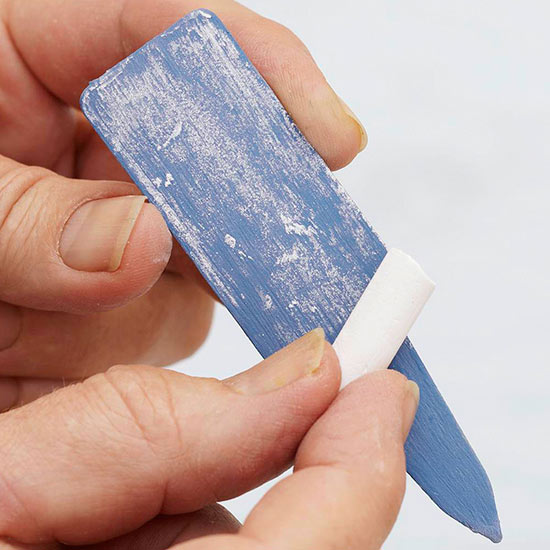
Prepare the writing surface of your little chalkboards by rubbing both sides of each plant marker with chalk, then wiping it off with a cloth. Your plant markers are now ready for writing.
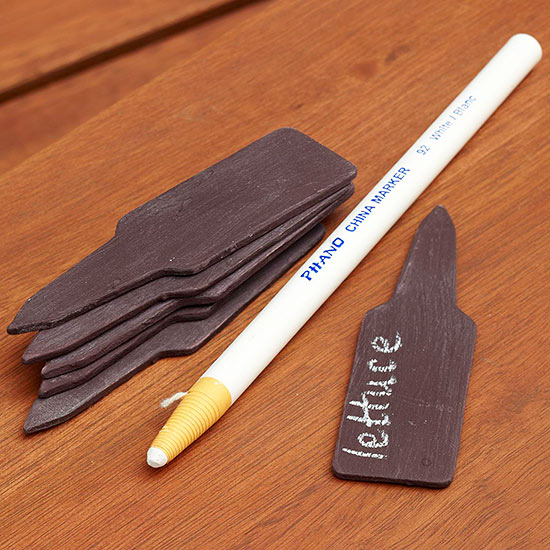
Use a china marker to write labels that won't wash off in the rain. Wipe off the labels at the end of the season by using a drop of baby oil and a cloth.
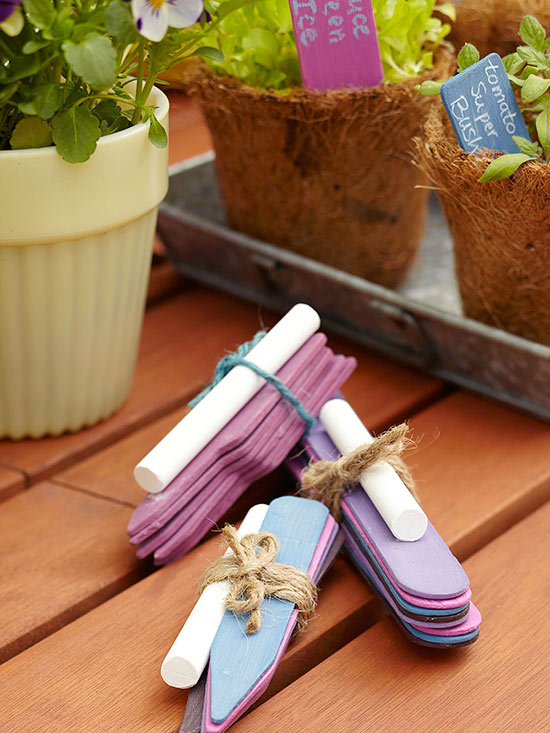
Tie a bundle of chalkboard plant markers with twine and give as gifts for your gardening friends.
To make a larger chalkboard, cut a piece of ¼-inch plywood to fit inside a frame of your choice. Follow the same steps for making plant markers: Apply three coats of paint to the board, allowing the paint to dry and sanding it between coats. Mount the chalkboard to the frame and secure it in place with small nails.
Copyright © www.100flowers.win Botanic Garden All Rights Reserved