

 Make your own mosaic mansions.
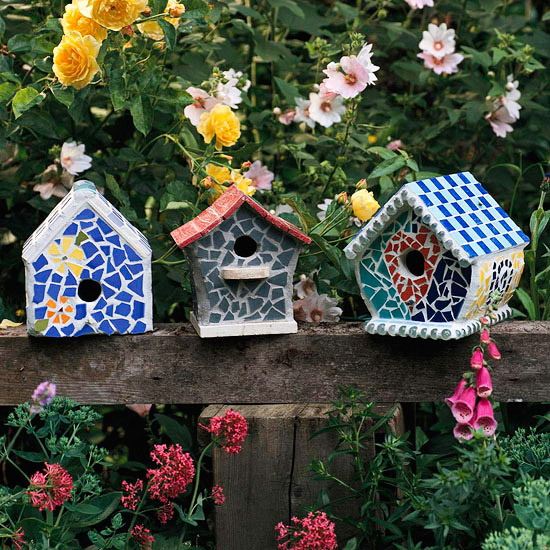
These colorful, flower-inspired mosaic birdhouses are attractive in all meanings of the word. The rainbow of hues attracts the eye and proves that flowers need not be the only way to add color to a garden. Their functional aspects provide nesting spots for a variety of colorful birds, which makes your yard even more attractive.
You may be so inspired by making outdoor mosaic bird mansions that you'll be tempted to try your hand at creating colorful ones to decorate your home's interior, too.
Make even more birdhouses with our charming, affordable design.
continue reading belowFind easy DIY instructions for a gourd birdhouse.
 Step 1
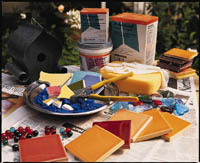
1. If the birdhouse will be used outdoors, make sure it is constructed of cedar or some other weather-resistant, bird-friendly material. If it will be used solely indoors, less expensive decorative birdhouses can be purchased in crafts and discount stores. For tiles, check tile specialty stores or a local tile factory for seconds. (You may need to special-order tiles if you want specific colors.) Use only frostproof porcelain tiles on outdoor birdhouses. Marbles in various colors can be found at crafts or toy stores. To make sure the tiles stay in place outdoors, use thin-set mortar. For indoor-only birdhouses, tile mastic is sufficient to keep decorative elements in place. When choosing sanded grout, pick a color that complements your tiles.
 Step 2
2. Using the black marking pen, sketch a rough outline of your design on the birdhouse. This will help you determine what size tile pieces you need.
 Step 3
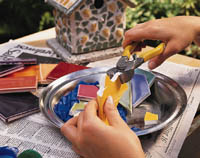
3. Before you start to cut or break the tile pieces, be sure to put on safety goggles. Use tile nippers to clip pieces to the sizes and shapes needed. For a random design, place the tiles inside a plastic or paper bag, and break them with a hammer.
 Step 4
4. Test-fit the decorative pieces on the birdhouse surface before adhering them permanently. Try to keep the spacing between pieces consistent at 1/8 to 3/8 inch.
 Step 5
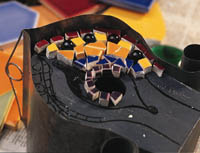
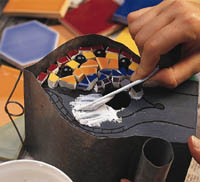
5. If using thin-set mortar for your fixative, mix a small amount according to package directions. (Mastic comes premixed.) Starting with the birdhouse face, apply fixative to small sections of your design using a crafts stick or plastic knife. Press tile pieces, marbles, and other objects firmly into fixative. After covering all surfaces of the house, let the fixative dry for the time recommended by the manufacturer.
 Step 6
6. Mix grout according to package directions. (It should be about the consistency of thick oatmeal.) Wearing latex surgical gloves, use your fingers to press grout into joints. Run your finger over joints to smooth them and remove excess grout.
 Step 7
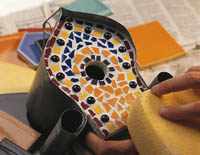
7. Let grouted joints set for 15 minutes. Wipe all mosaic surfaces with a damp sponge to remove grout haze, rinsing and wringing out the sponge as you work. Remove as much grout haze as possible within 24 hours of grouting. After that, remove haze using a chemical grout release product.
Copyright © www.100flowers.win Botanic Garden All Rights Reserved