

While there is no such thing as an effortless bonsai, we are making progress.
The rules have changed since bonsai revolutionary Kenji Koyahashi invented keshiki bonsai. Tokyo-based Koyahashi, who teaches workshops for beginners at his shop, loosened strict dictates. I got a copy of his book, Keshiki Bonsai, ($17.05 from Amazon) and learned he encourages bonsai newbies to select plants and containers according to their personalities. Anything from soup cans to a tea cup can be repurposed as a planter.
With a modern, relaxed attitude, planting a bonsai is (almost) as easy as potting a houseplant. Read on to try this DIY and find out for yourself:
Photography by Cheryl Locke.
 diy-modern-bonsai-gardenista
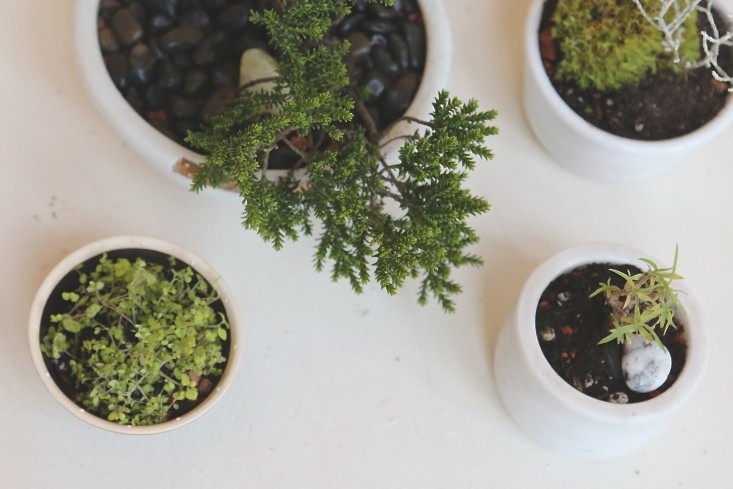
Above: In Koyahashi’s world, everyday plants–shrubs, seedlings, tiny trees at your local nursery–can become bonsai. (Not that there’s anything wrong with a stately Japanese black pine.)
 diy-modern-bonsai-nook-gardenista
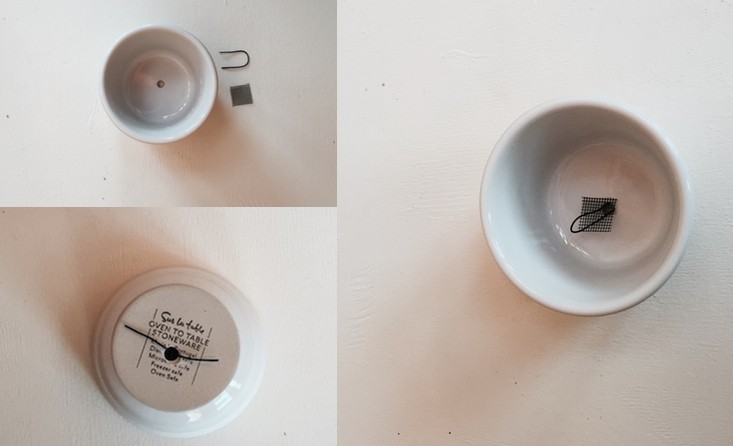
Above: And when it comes to sourcing a pot, you don’t have to use a container in the imperial style, unless you live in a palace. Find a pot that suits your home or your personal taste. In a pinch, something from your cupboard, like a spare ramekin, works well. With a drill and a diamond tile bit, you can turn any ceramic bowl into a planter. 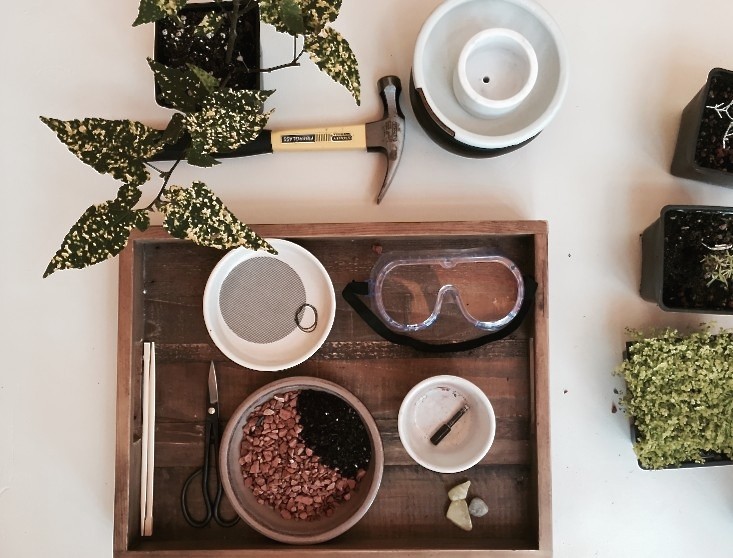 diy-modern-bonsai-materials-gardenista
 IMG_0628
Above: One challenge to growing a traditional bonsai is you need to find a sapling with the potential to train into a majestic tree in miniature. Skip that.
Instead, use your imagination. Start with a shrub that already looks like a tree or grassy knoll. I went to my local nursery and headed to the California natives section, where I found Euphorbia balsamifera, the little guy shown above at center left, and a drought tolerant cushion bush (left, back). I also picked up a hebe ‘Emerald Gem’ (which reminded me of a mini spruce) in the shrub section. As for the moss, it is not actually moss but Austrailian Astroturf and baby tears. Because I’ll be placing my bonsai on a sunny ledge, I need companions that like sun to partial shade.
 IMG_0607
Above: Next, create a drainage hole. Flip your container upside down, then spritz the surface with water to keep the area cool. Using your drill at its highest speed (make sure you are wearing goggles), create a groove at a 45-degree angle. Then drill (holding the drill firmly so the bit goes in straight instead of at an angle) until you create a drainage hole.
Go slow, and don’t press hard. You don’t want to crack your container.
 creating drainage
Above: Keep soil from draining and pests from crawling in with a screen mesh, secured with a tiny bit of wire.
 covering drainage
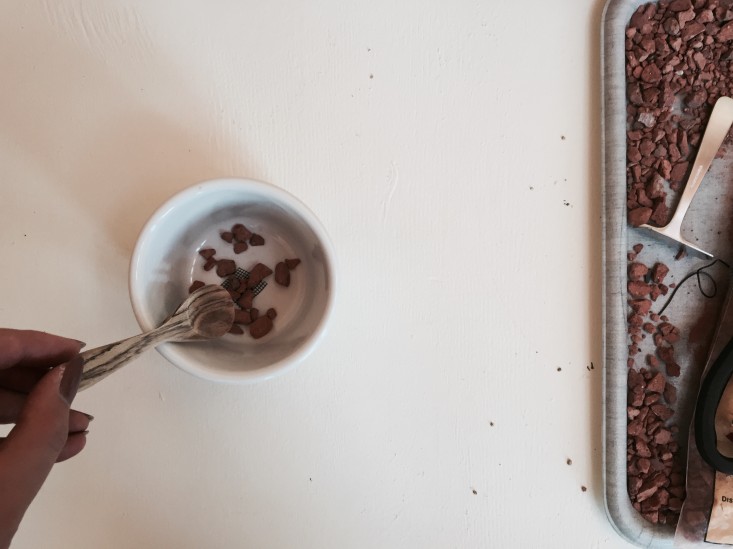
Above: The secret to happy bonsai is drainage. Add a layer of rocks. Then, fill the container halfway with bonsai soil. (I mixed my own….)
 IMG_0638
Above: I won’t lie. Making one’s own bonsai potting mixture is a process. It involves four ingredients: peat clay, two kinds of fuji sand, and volcanic soil. But it’s worth the effort.
There is ready-made bonsai soil, but Ken at Adachi Nursery (one of the remaining Japanese-owned nurseries in the Bay Area) persuaded me that my plants deserved better. So I mixed my own, using two parts volcanic rock to one part potting soil.
The volcanic rocks I hammered down to the size of rice grains, before mixing with Master’s Pride Potting Soil ($10.89 for a bag from Harmony Farm).
Now comes the fun part.
 remove and rinse
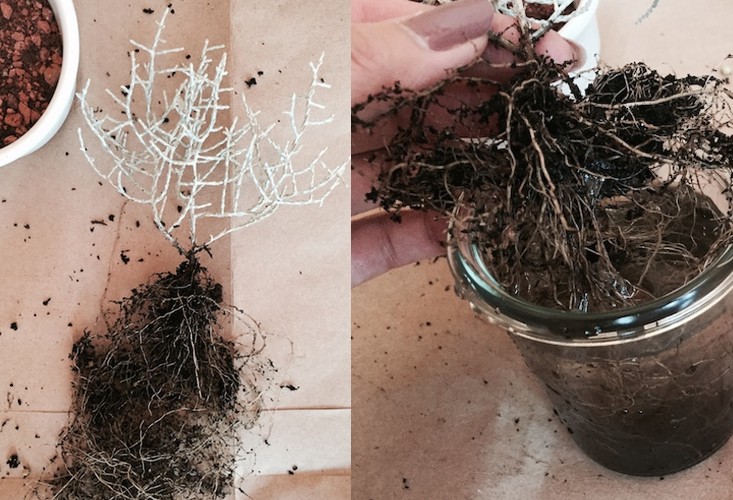
Above: Take the starter plant out of its container, and gently shake off and remove soil. After you’ve cleaned off most of it, give the roots a quick rinse. And plant it in your container. I like to arrange mine off center.
 cutting moss
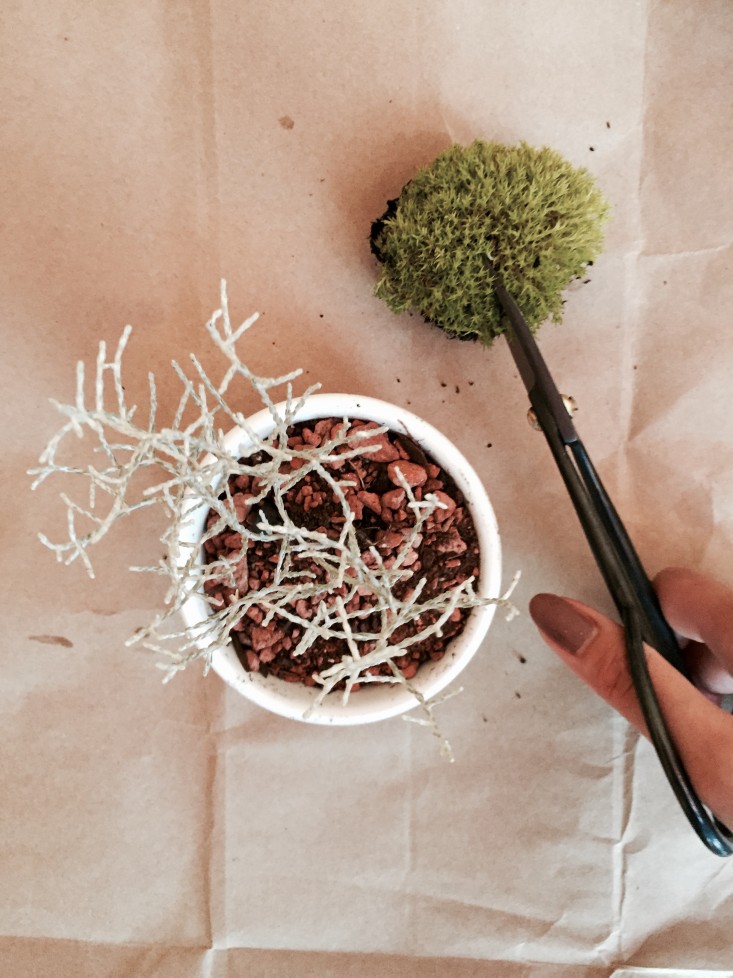
Above: To place moss around the trunk, make a snip along the center, and wrap it around the bonsai. 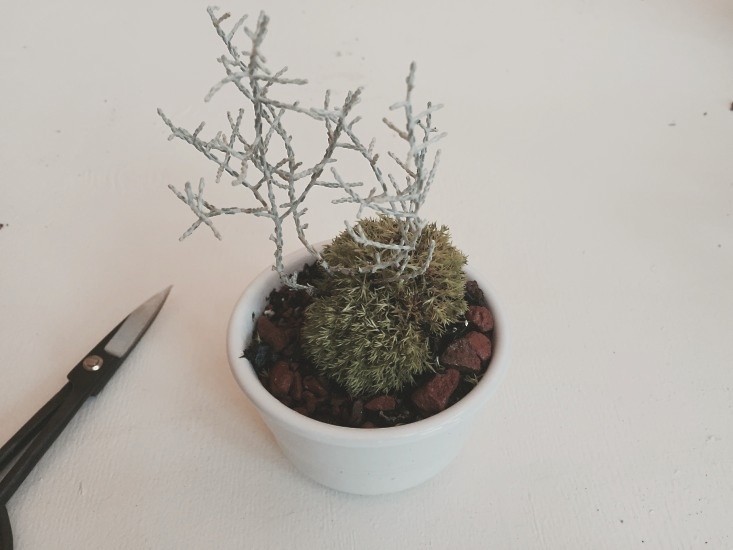 diy-modern-bonsai-cushion-bush-gardenista
Above: The most tranquil part of raising a bonsai is grooming it. I plan to train this cushion bush so it gets long and lanky.
 diy-modern-bonsai-3-gardenista
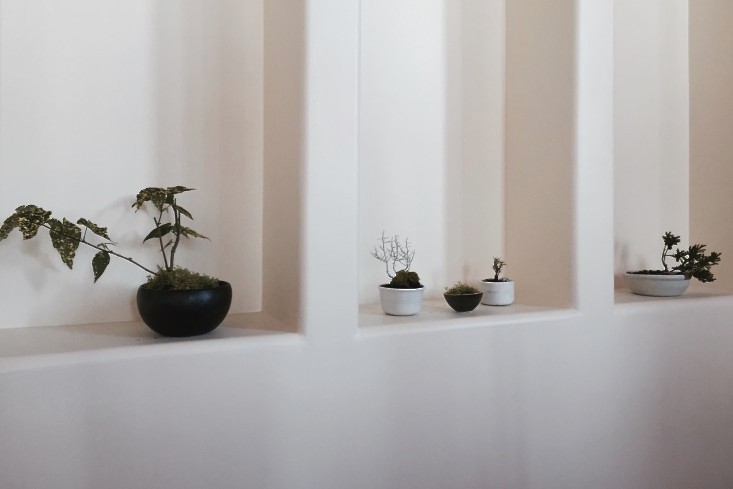
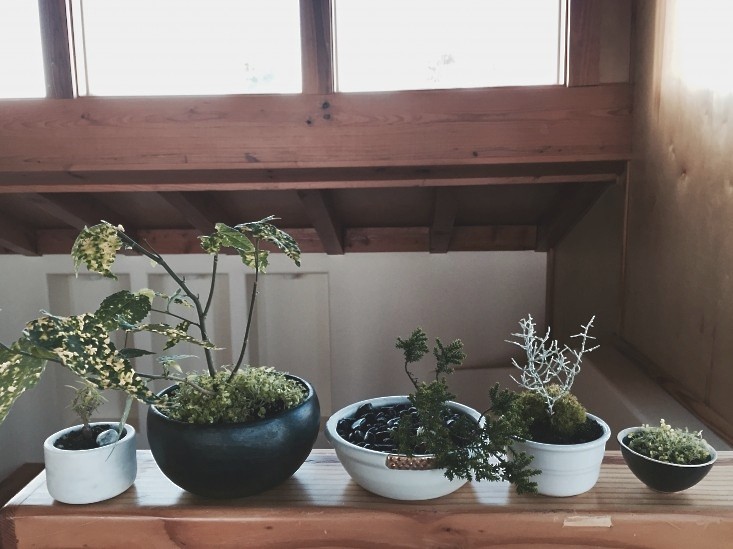
Above: Five hours later, just kidding, one hour later, I had potted all five of my bonsai. Don’t forget to water and mist daily.
Are you a bonsai convert? Meredith will take you into San Francisco’s Bonsai Society to Ask the Expert for more tips.
For more projects inspired by Japan, try Erin’s Small Space DIY: Kokedama Planters and you might want to invest in Tools of the Trade: Japanese Garden Tools.
 gardenista-email-new-recirculation-v2 (1)
Copyright © www.100flowers.win Botanic Garden All Rights Reserved