
Succeed with seeds! Here are 10 tips for starting your seeds indoors.
The Hindi word for seed is ” bija” which translates literally as “containment of life”. An apt description for these tiny miracles that contain everthing needed to make a new plant. This time of year we are up to our elbows in dirt, starting more seeds indoors each week.
Why would you want to start your own seeds? Three big reasons: There is a much wider range of varieties available as seeds, things you would never find in a six-pack at the local garden center. You will know how they have been raised —lorganically instead of bathed in a wash of chemicals. You can time the plants to be ready for when you want to plant them.
To succeed with seeds we need to follow a few simple rules:
- Disinfect any recycled pots, flats, or trays. You can use just about any kind of container that is at least 2 inches deep to start your seeds in as long as it has holes for drainage.
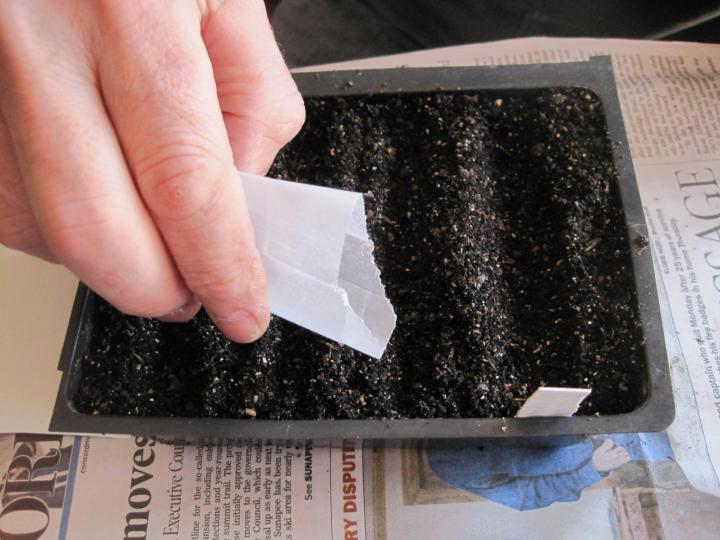
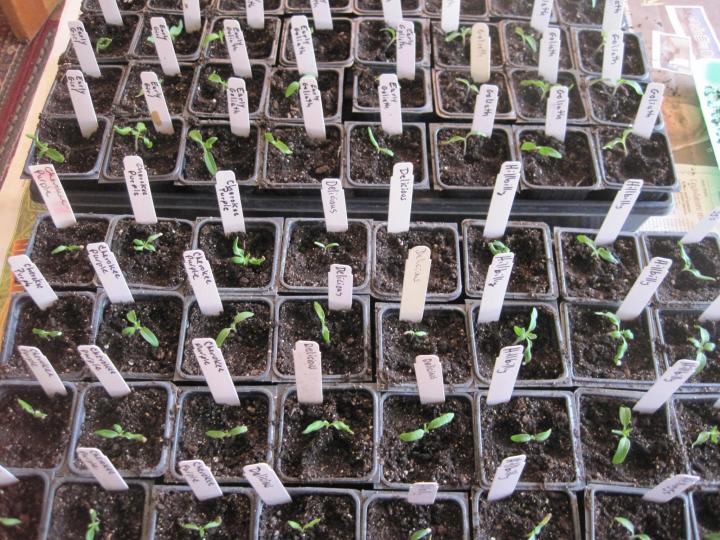
We use wide shallow boxes called “community flats” to start rows of seedlings.
- Read your seed packets. They have a wealth of information —lgermination temperature, light requirements, depth to sow, and when to sow. Timing is everything. Count backwards from your frost-free date the required number of weeks stated on the package to have your plants ready at just the right time.
- Use a soil mix designed for seed starting. To avoid soil-borne diseases and fungi look for a soil-less mix. We use a compost-based seedling mix with excellent results. Regular potting soil or plain garden soil are too heavy.
- Label everything! Many emerging seedlings look alike. We cut labels from recycled plastic containers.
- Light is key. Once your seedlings have emerged, place them where they will receive bright light for most of the day—greenhouse, sunporch, or south-facing windows. If you don’t have such a spot try a grow light or an ordinary shoplight fixture with fluorescent bulbs.
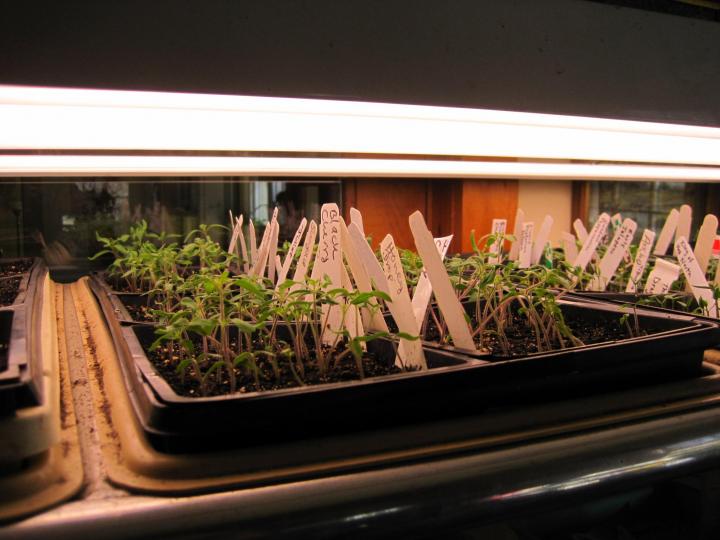
Hang the lights so they can be adjusted to keep them 4 inches above the plants as they grow.
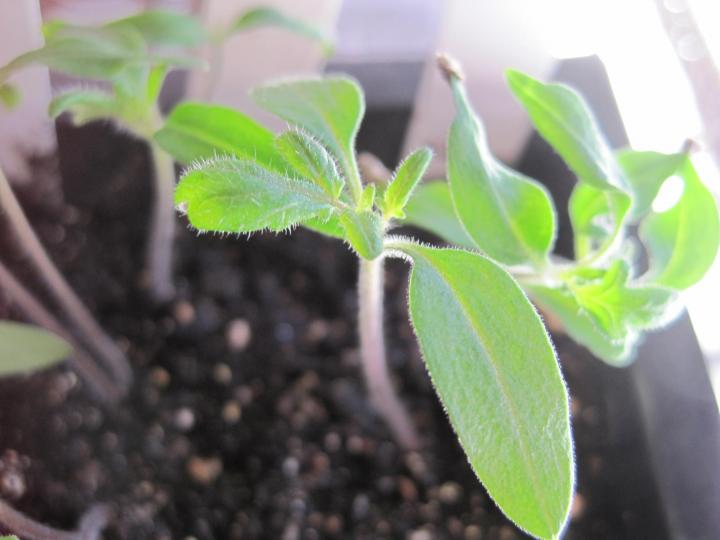
- Transplant seedlings into individual pots when they get their “true” leaves.
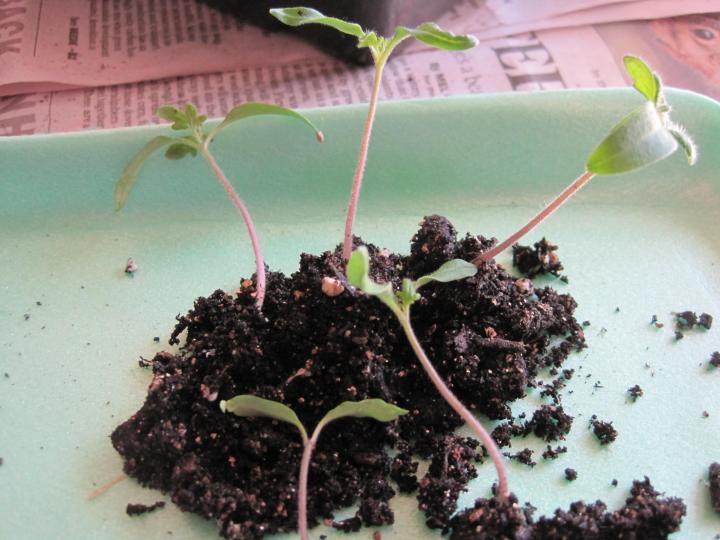
- Handle with care and replant them deeper—up to their seed leaves. Many plants—like these tomatoes—will form new roots along the buried stem.
If your plant outgrow their pots before time to plant them outside, move them into larger containers to keep them growing.
- Fertilize, especially if you are using a soil-less mix that has no nutrients added. Feed the plants weekly with a water-soluble, organic fertilizer. We use fish and kelp emulsion. A little stinky but it does the trick!
- Stroke your plants or set up a fan to gently blow on them. Studies show that plants grown in a still environment are weaker than those subjected to a gentle breeze.
- Harden off your transplants by gradually exposing them to the great outdoors before planting them out.
Give seed starting indoors a try! It is a garden variety miracle!
~ By
Robin Sweetser
About This Blog
Get inspired by Robin Sweetser's backyard gardening tips. Robin has been a contributor to The Old Farmer's Almanac and the All-Seasons Garden Guide for many years. She and her partner Tom have a small greenhouse business and also sell plants, cut flowers, and vegetables at their local Farmer's Market.
Related Articles
- Planting a Garden
- Seeding
- Seeds
- Transplanting

